Automatic Deployments to WP Engine with Branch
Introduction
Branch is a continuous integration and deployment platform, designed to help you automate the building, testing and deployment of your WordPress projects whenever you push to Git.
Branch makes it easy to deploy your code to WP Engine from GitHub, Bitbucket or Gitlab. Simply connect Branch to your WP Engine account with your API credentials and use the built-in WP Engine deployment recipe to automate the workflow.
This guide will help you create a Branch account, link it to your WordPress project on WP Engine and automate your builds and deployments.
Note: If you aren’t yet using a Git based workflow, start out by reading our guide on Git for WordPress teams.
Follow the full step-by-step instructions below, or skip straight to the section you need using one of the following links.
Table of Contents
- Sign up to Branch
- Set up a New Project on Branch
- Connect Branch to WP Engine
- Add Build Steps
- Build and Deploy a Theme or Plugin to WP Engine
- Build and Deploy a Full WordPress Site to WP Engine
- Managing Environments
- Need Help?
Sign up to Branch
Signing up to Branch is easy and free — all you need is a GitHub, Bitbucket or GitLab account.
Once you have an account, you can do 20 deployments for free every month, with the option to upgrade to a paid plan for unlimited deployments.
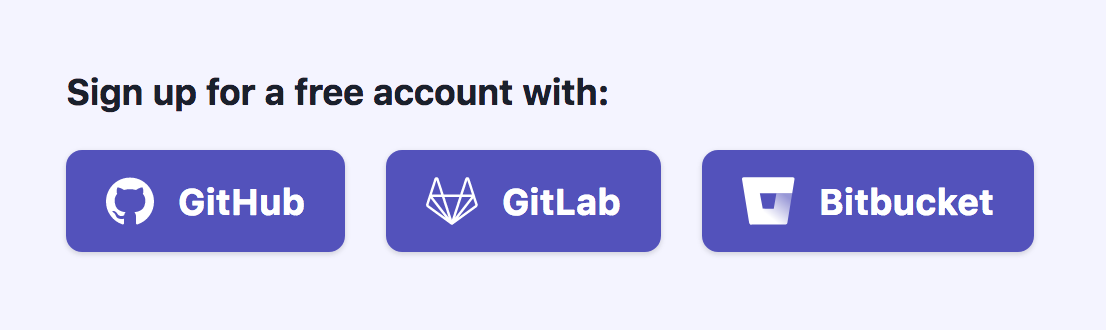
To sign up from the Branch homepage:
- Select the Git host you would like to use (either GitHub, GitLab or Bitbucket)
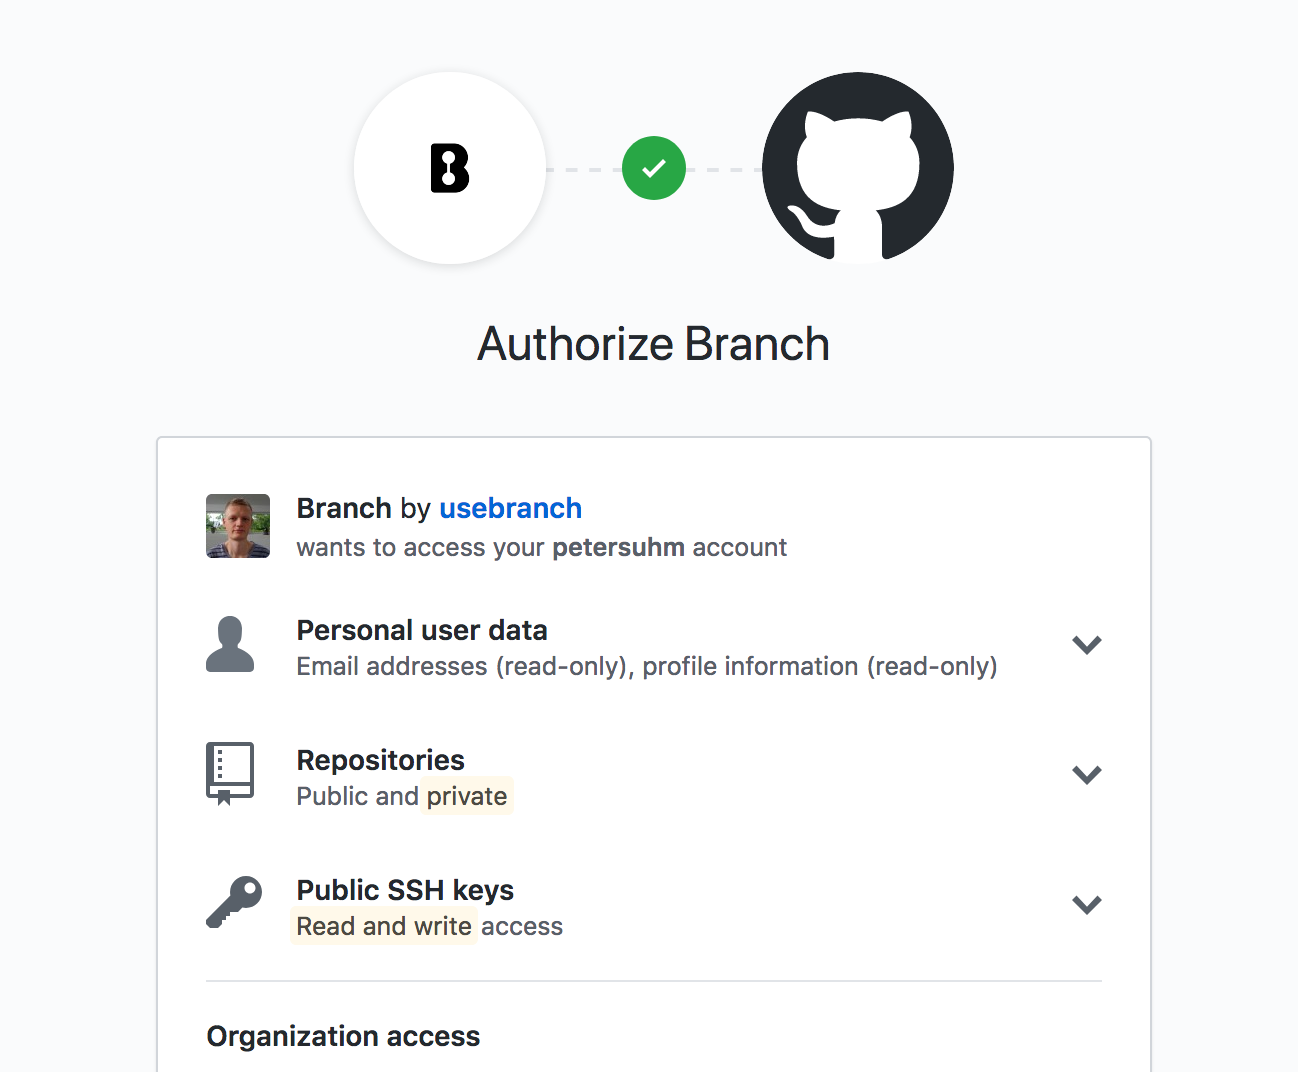
- After clicking, you will be redirected to your chosen Git host’s website and prompted to log in and authorize Branch to access to your account. Note: it’s important that Branch has access to the organization hosting the project you will be using.
Set up a New Site on Branch
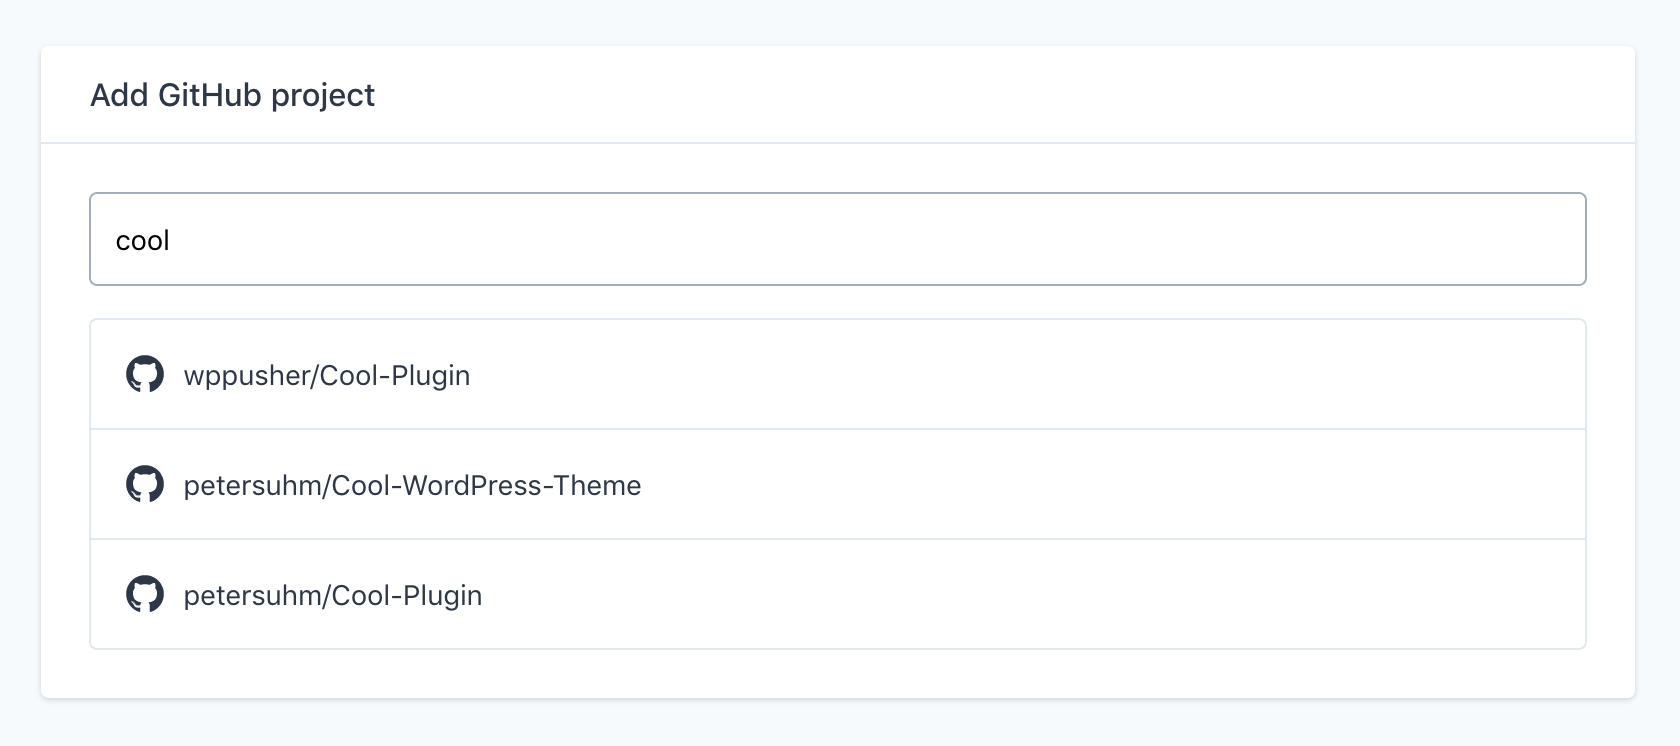
Next, you will be prompted to pick a Git repository. Start entering the name of your chosen project to see a list of matching Git repositories and select the correct one.
You can connect Branch to any Git repository containing a theme, a plugin, a full WordPress site, or any combination of the above. With WP Engine, you can keep either an entire WordPress project in the repository (say if you are managing it with Composer) or just a theme or plugin.
After selecting a repository, Branch will set up the connection to your Git provider by taking the following steps:
- Adding an SSH key associated with the site. This lets Branch clone the repository.
- Adding a webhook to the repository. This lets Branch know when there are new commits and pull requests to build.
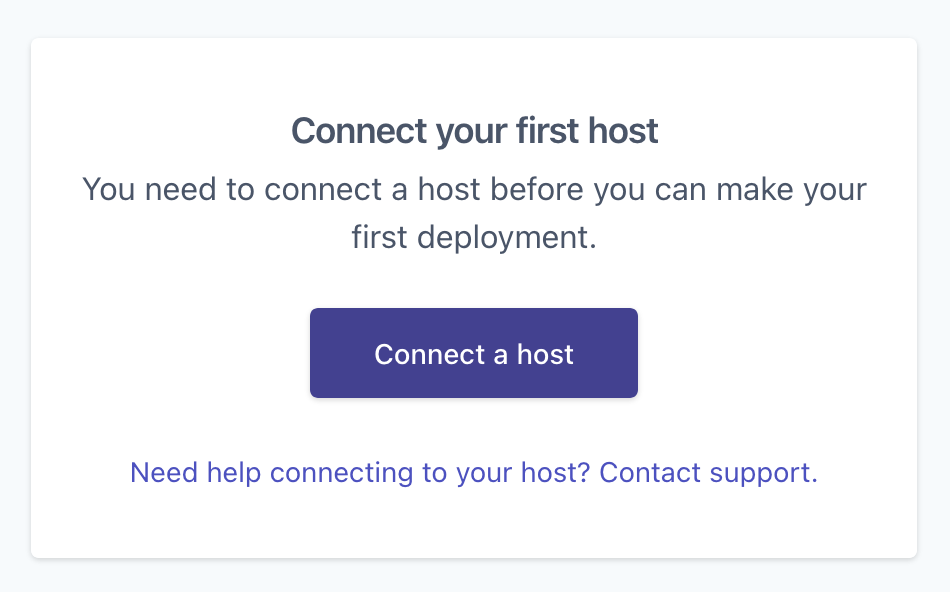
Once your new Branch site has been created, you will be prompted to connect your first host.
It’s time to connect your Branch account with WP Engine.
Connect Branch to WP Engine
Branch has a native integration with WP Engine, which means that by providing a set of API credentials, Branch can automatically provision the connection to WP Engine. Branch will automatically add your project SSH key to your WP Engine account and set up a few handy environments that you can use in your build steps.
Click the Connect a host button and pick WP Engine. This will prompt you to enter a set of API credentials from WP Engine. You can generate these in the WP Engine dashboard.
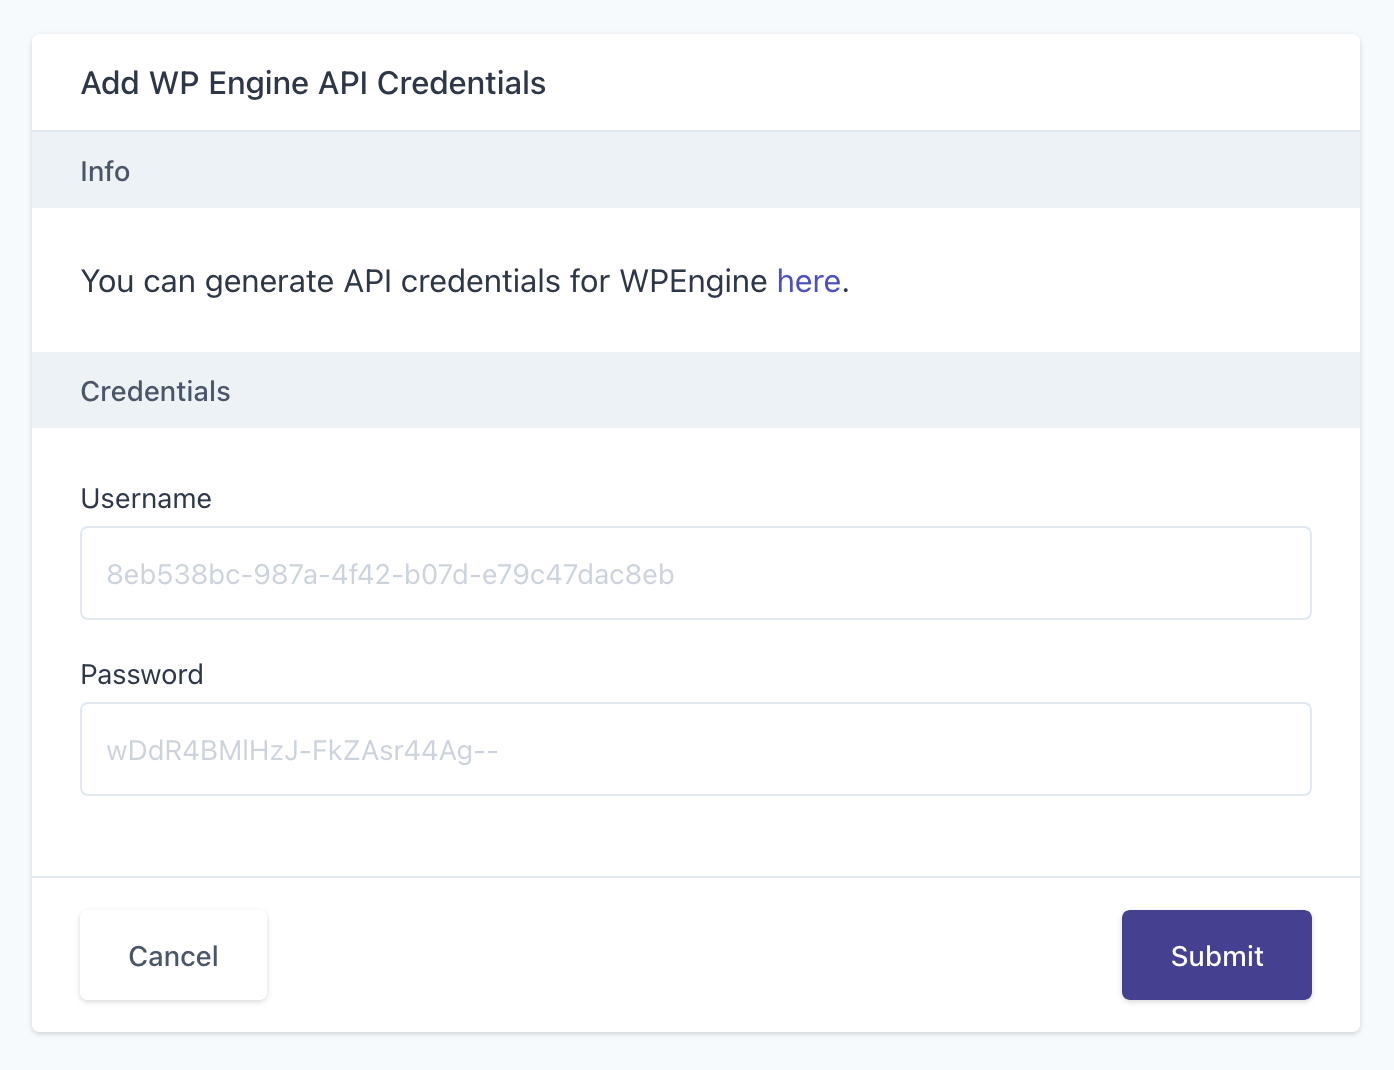
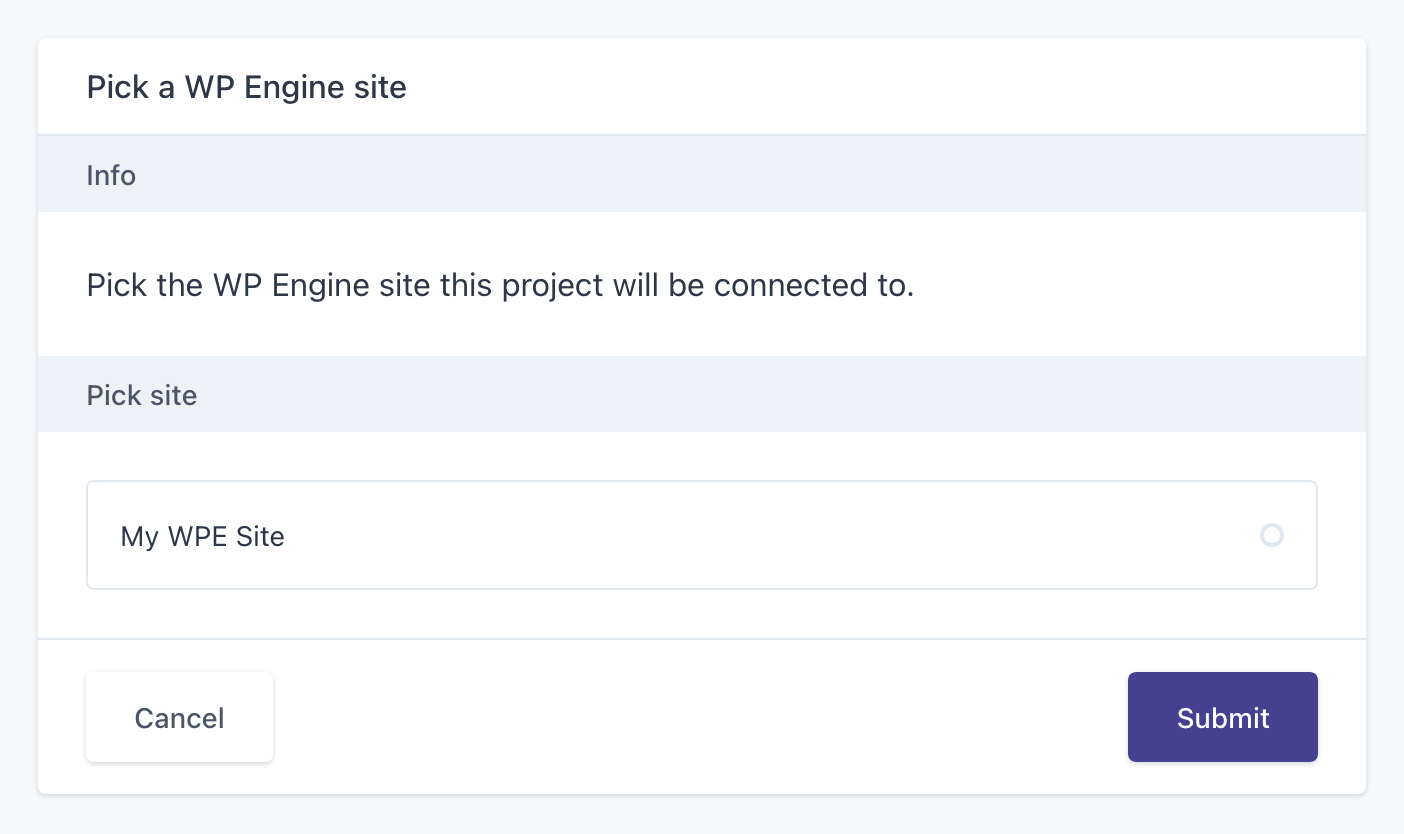
After pasting in the API credentials, click Submit. Next thing, you’ll be prompted to pick the site on WP Engine that corresponds to the one your are setting up on Branch. Pick the site and click Submit.
After selecting a site, Branch will pre-configure Environments based on the environments you have on WP Engine. These environments have a few sane defaults already configured, but you can easily edit them, by clicking the Edit button next to each of them. Environments are where you map Git branches to different site environments on your WP Engine site and where you determine the deployment strategy for your site.
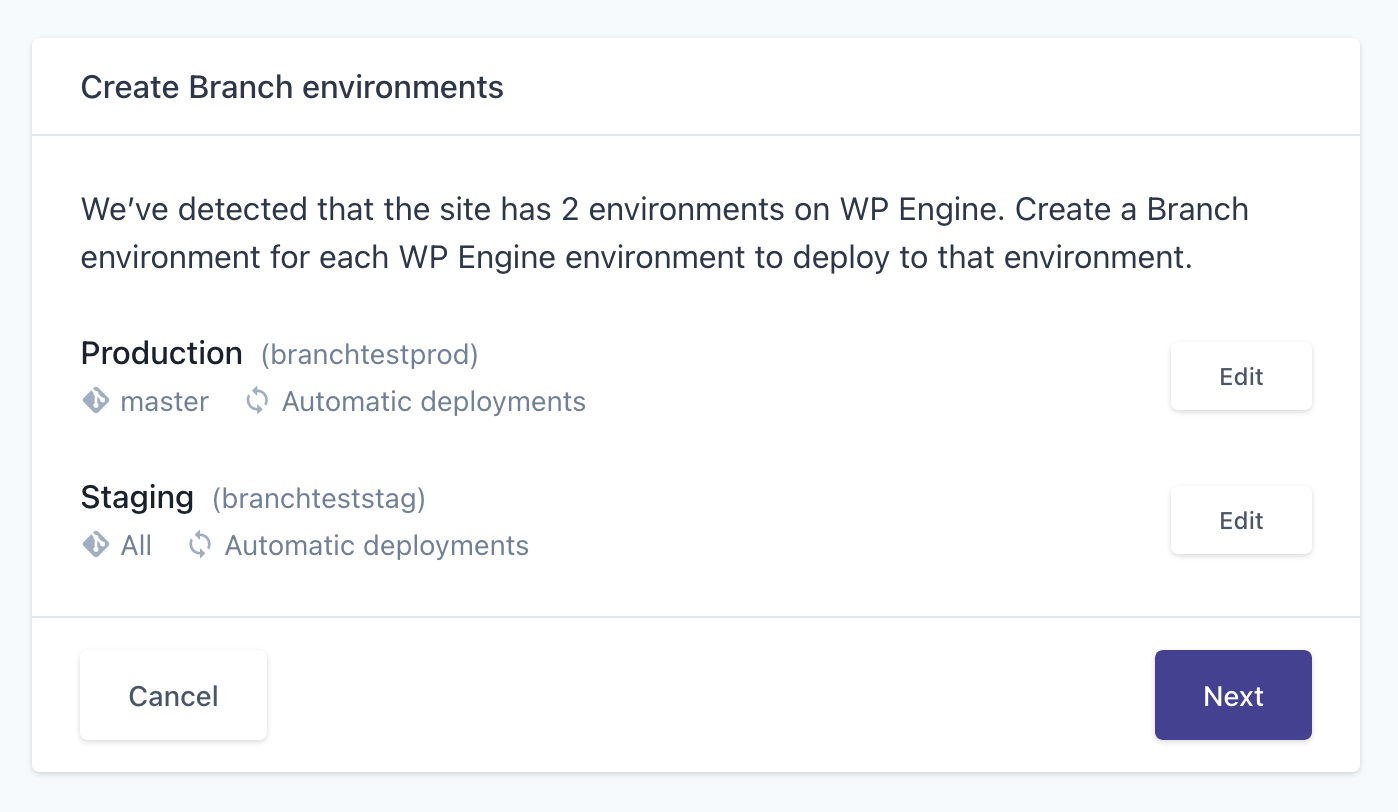
Once you are happy with your environments, click the Next button. Your site is now connected to WP Engine and you are ready to go to your Pipeline.
The pipeline is where you configure the steps that are part of your deployment workflow, such as compiling your frontend assets, pushing the code to the server and running QA tests to make sure nothing broke. As you can see, Branch already added a few Deployment steps to your pipeline based on the environments you just configured.
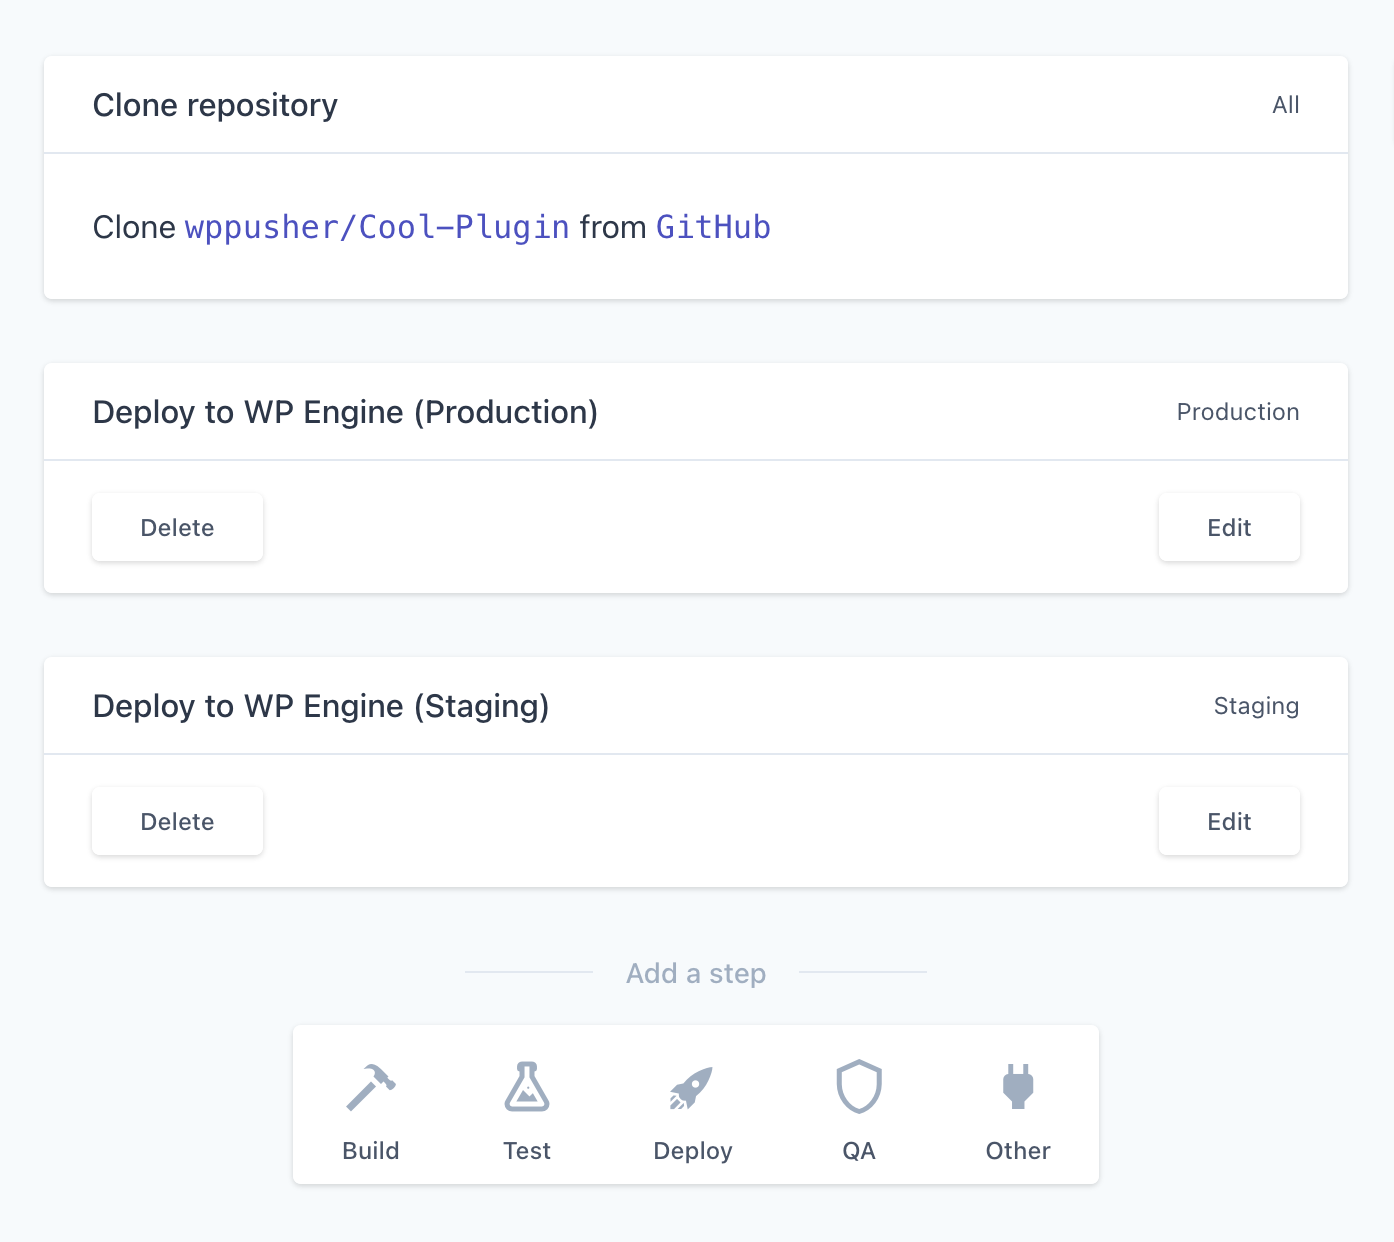
Unless your site requires any build steps (running NPM or Yarn etc.), you are now ready to run your first deployment.
Add Build Steps
To add a build step:
- Click into your project from your Branch dashboard and select Steps
- From here, you can start adding your build steps. Scroll down to the section Add your first build step and click Add build step.
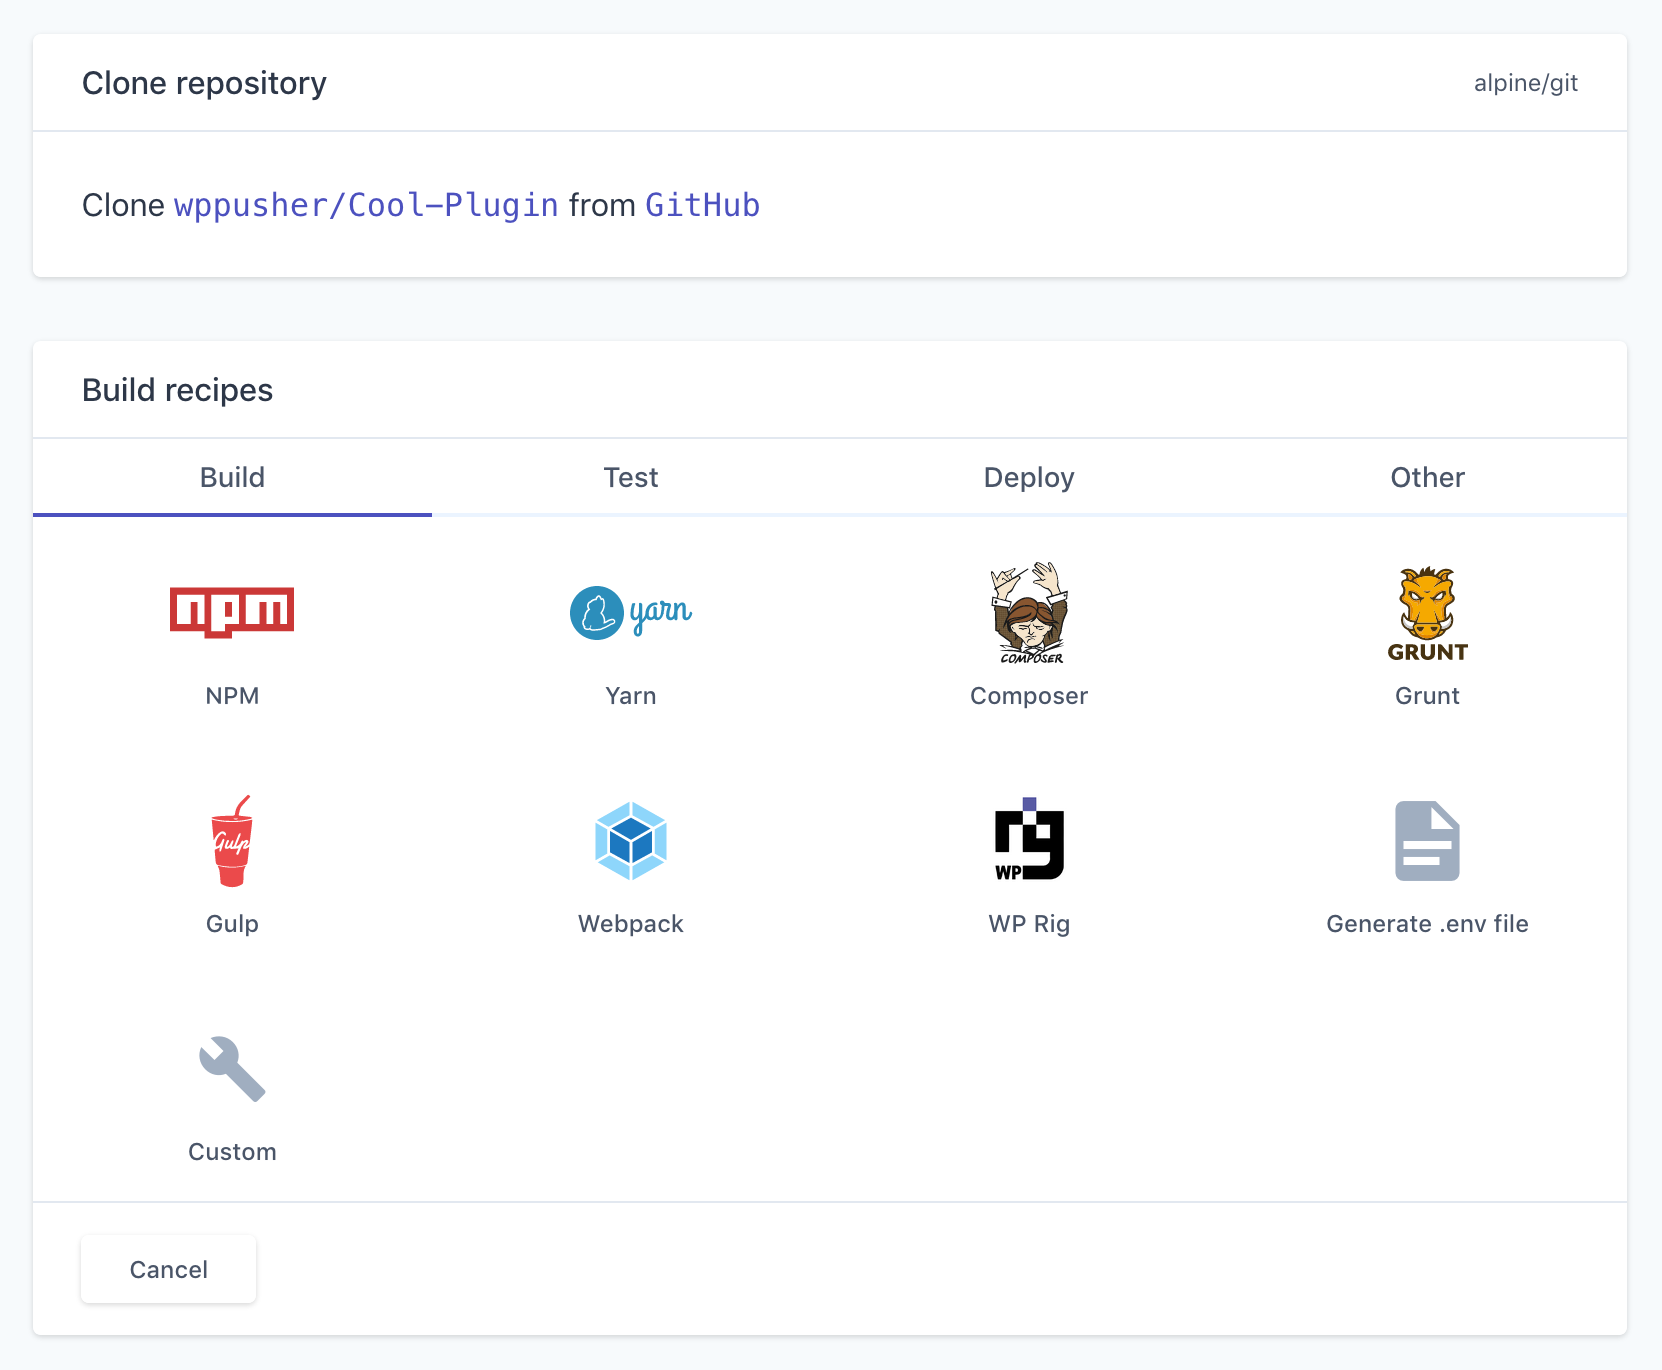
You have the choice to either use one of Branch’s built-in build recipes or define your own custom steps.
For common use cases, there are ready-made build recipes. For example, compiling frontend assets with NPM or validating your code with the WordPress Coding Standards.
Common Build Steps
To use an existing build recipe:
- In the Build recipes menu browse to find the tool you need
- Click Add step to add it to your build steps
Custom Build Steps
To define your own build steps, click Other in the Add a step section and pick Custom. Fill in the following fields and click Add step:
- Name: enter a name for your step
- Environment: select an environment in which to run the step eg
php,node,sshand so on - Commands: add the commands you want to run in this step
Test and Q/A
One of the benefits of using Branch is how simple it is to add a few test and Q/A steps to your deployment pipeline. For example, you could add checks to test for PHP syntax errors or tests to make sure your syntax is valid with a given version of PHP. You could also add a Lighthouse step to the end of your pipeline to run Lighthouse checks and be notified if your site scores too low on page speed, SEO or accessibility after deploying new code.
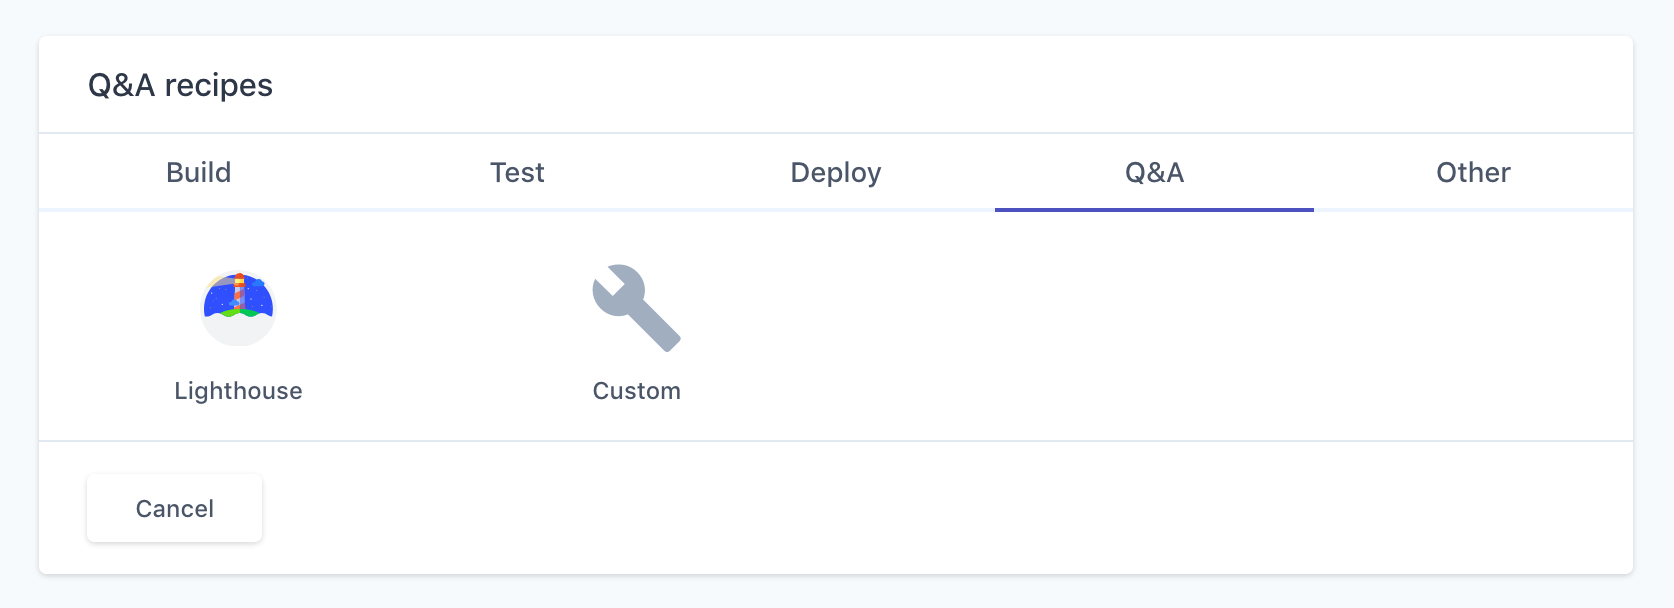
To learn more about Lighthouse testing, check out our guide on automated site monitoring. To learn more about simple ways to add tests to your WordPress project, read about alternatives to PHPUnit for WordPress development.
Advanced Options
You may want to run certain steps on specific Git branches only, say if you only want to deploy when pushing to master.
If so, toggle the Advanced options section of the build step and enter the name of the required branch.
Build and Deploy a Theme or Plugin to WP Engine
In this example, we will deploy a plugin from GitHub to WP Engine. The process would be the same if we were deploying a theme, or if we were using Bitbucket or GitLab.
- Connect Branch to your WP Engine account
- From the Branch dashboard, go into your project and click the Steps tab
- Add the steps necessary to build your theme or plugin For example, you might need to run
composer installto pull in the PHP dependencies used by your plugin or, if you’re building a theme, you may have some frontend build steps using Node or Gulp. Branch has a number of built-in build recipes for tasks just like these.
Note: if you’re runningnpm install, make sure to delete your node_modules directory before attempting to deploy.
Triggering Your First Build
There are two ways to do this:
- Manually: click Run build on your project’s configuration page. This will trigger a build from the default branch (this is set to ‘master’ unless you change it under Advanced options)
- Automatically: push new code to GitHub using Git to automatically trigger a build for that specific commit
For now, let’s trigger a build manually. Clicking Run build will redirect us to the build overview screen, where we can follow the progress of our build.
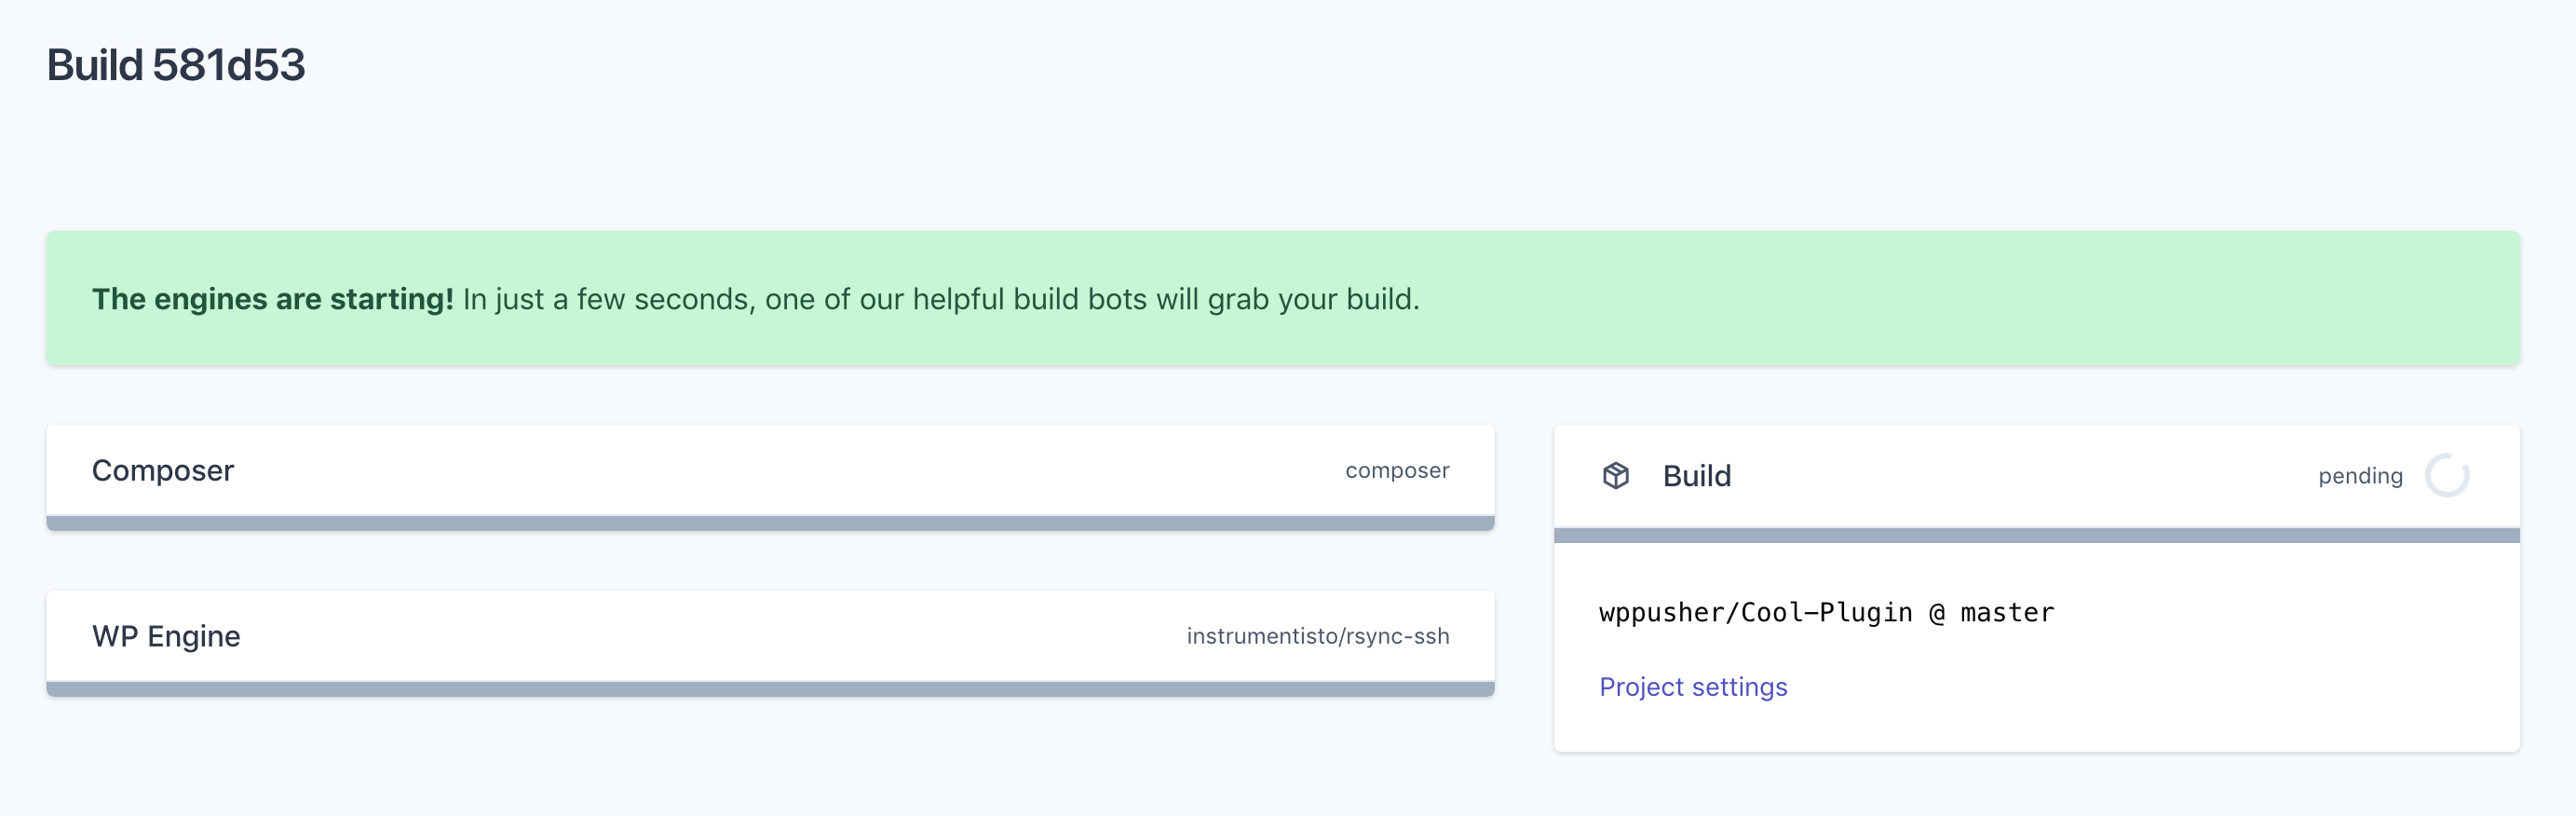
Once the build has finished running, the build steps will turn green and you will be able to see the build logs.
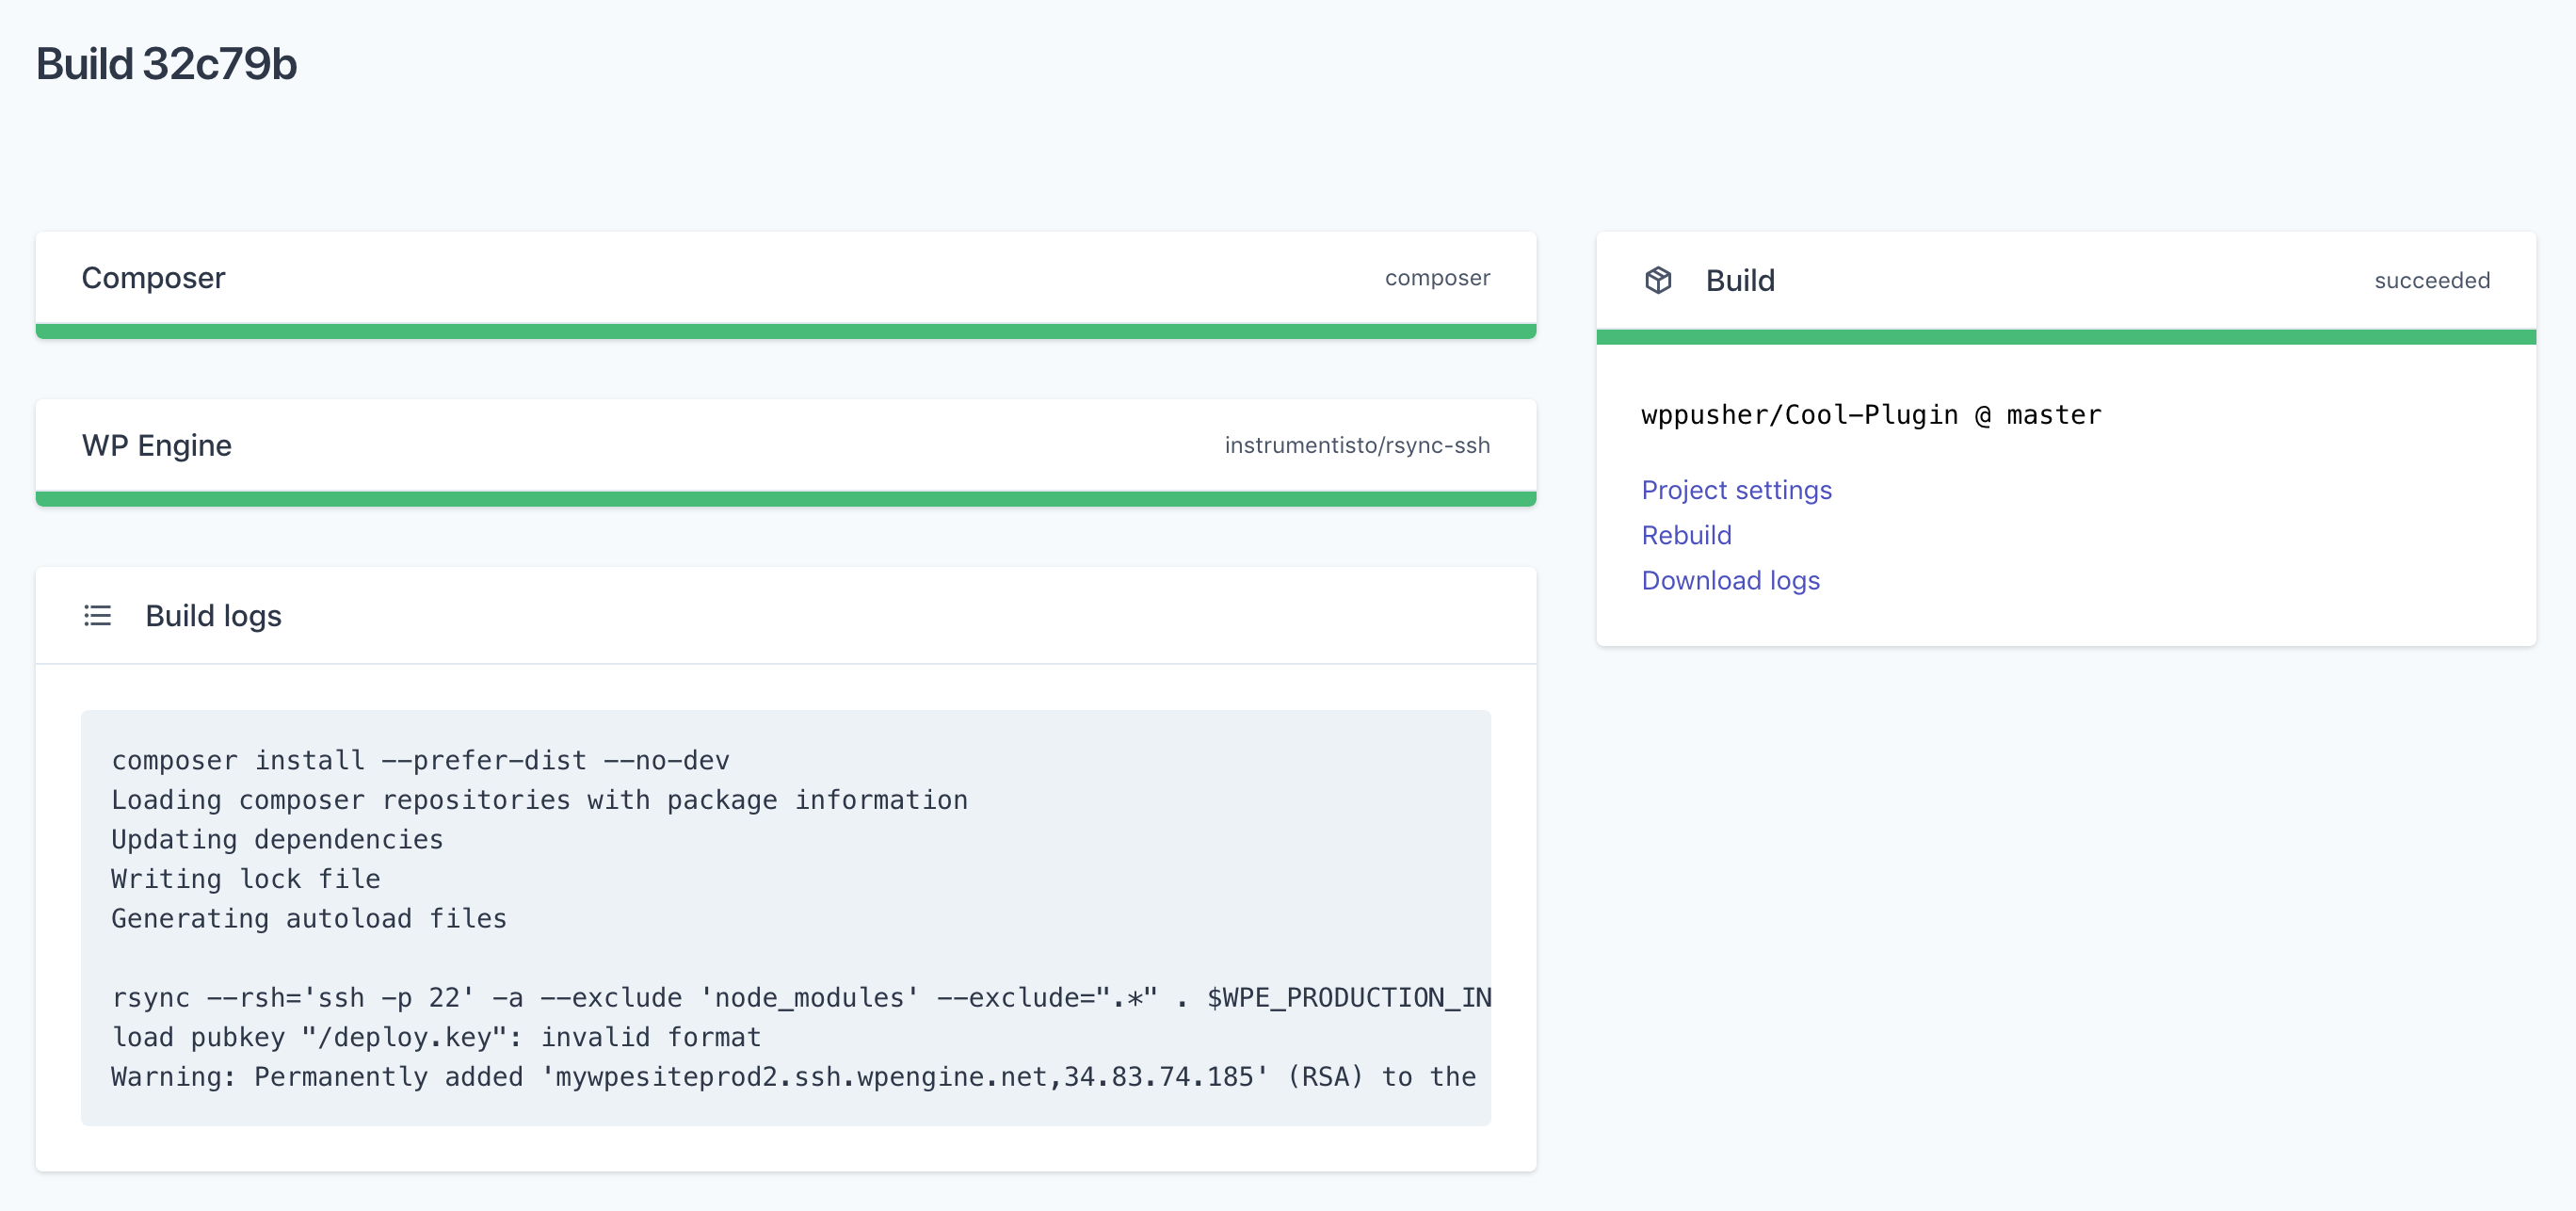
If you log into your WordPress site on WP Engine, you will be able to see that your plugin has been deployed.
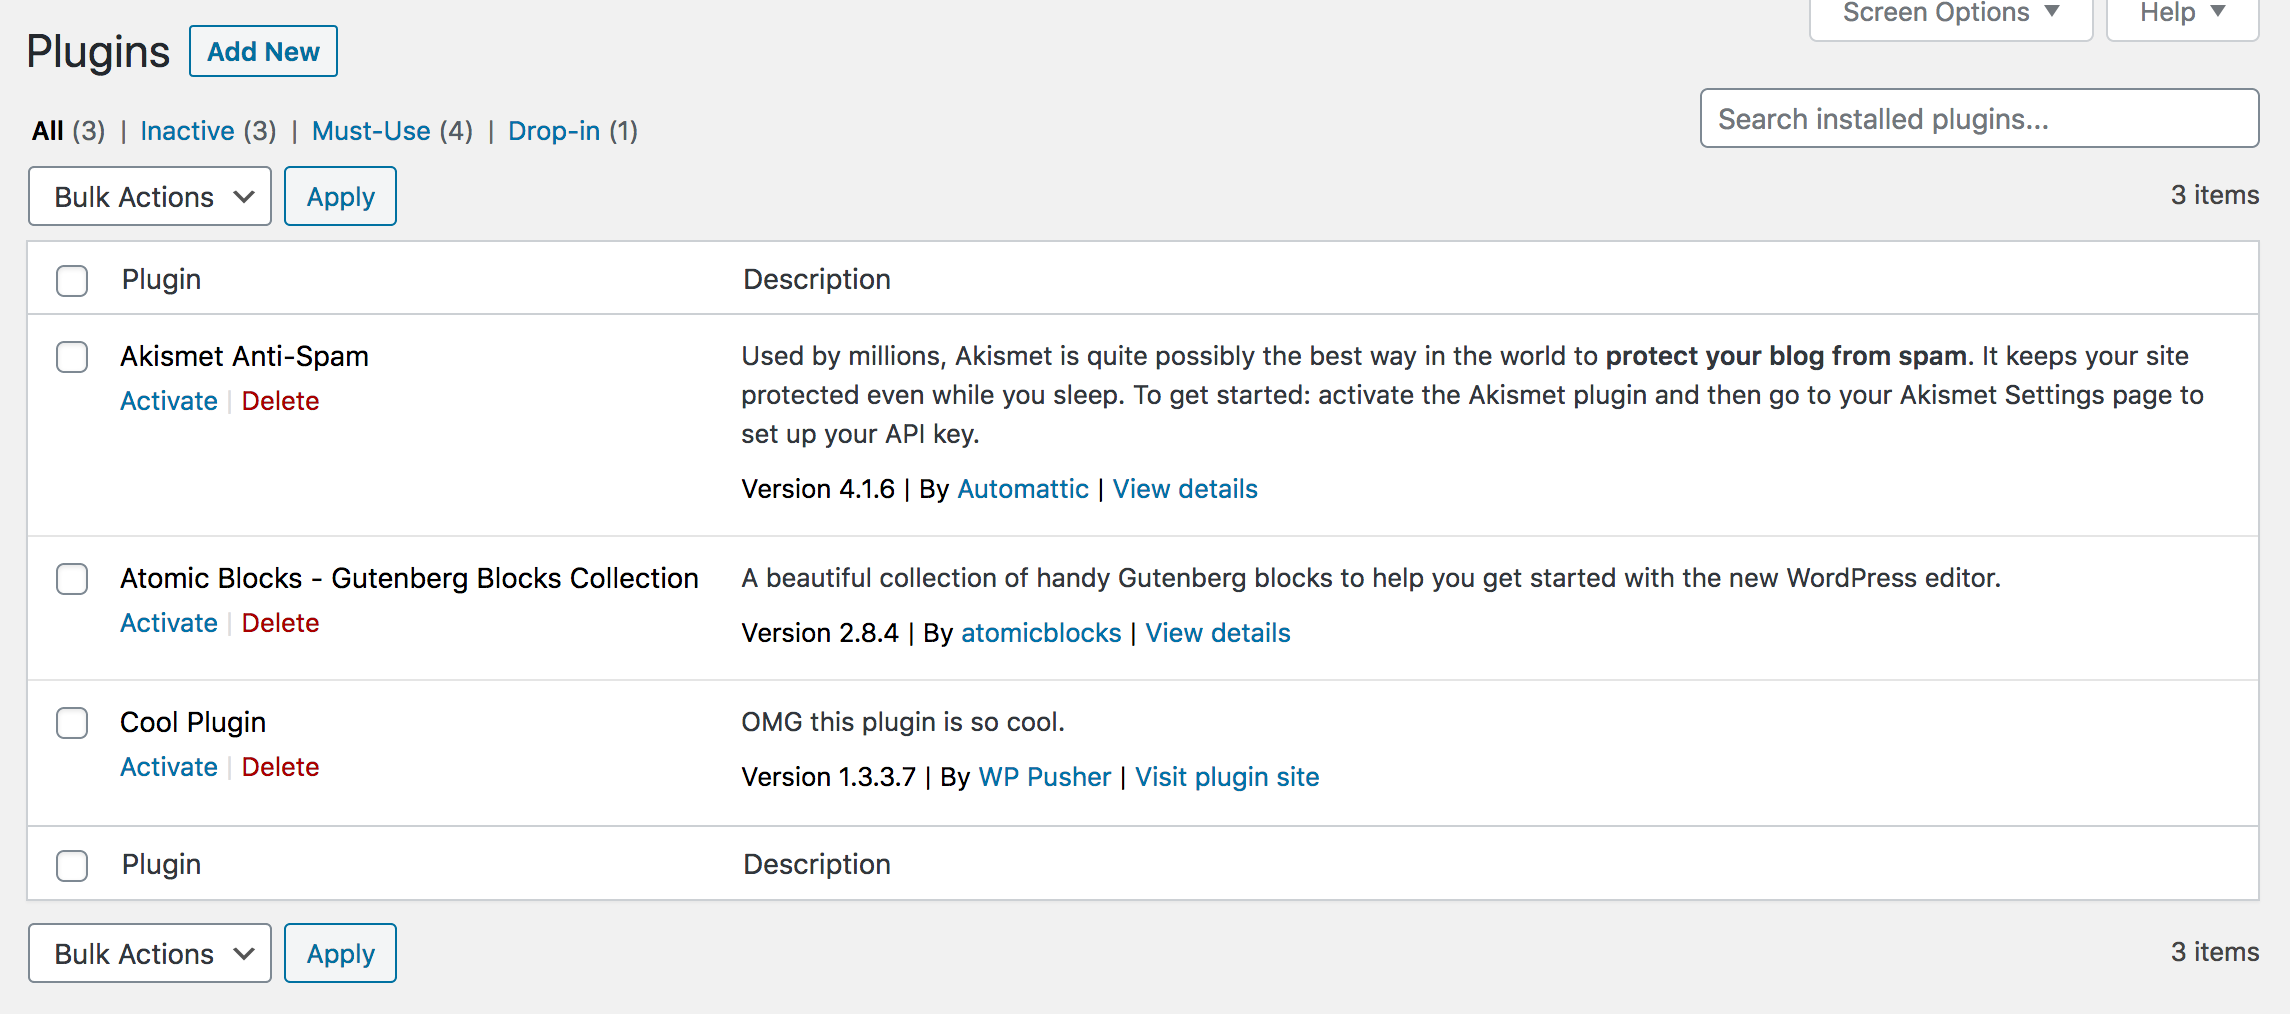
Now every time you push a new commit to GitHub, Branch will automatically run your build steps for you and deploy with RSync.
Pull Requests
If you have an open pull request on GitHub while the build is running, this will show as pending.
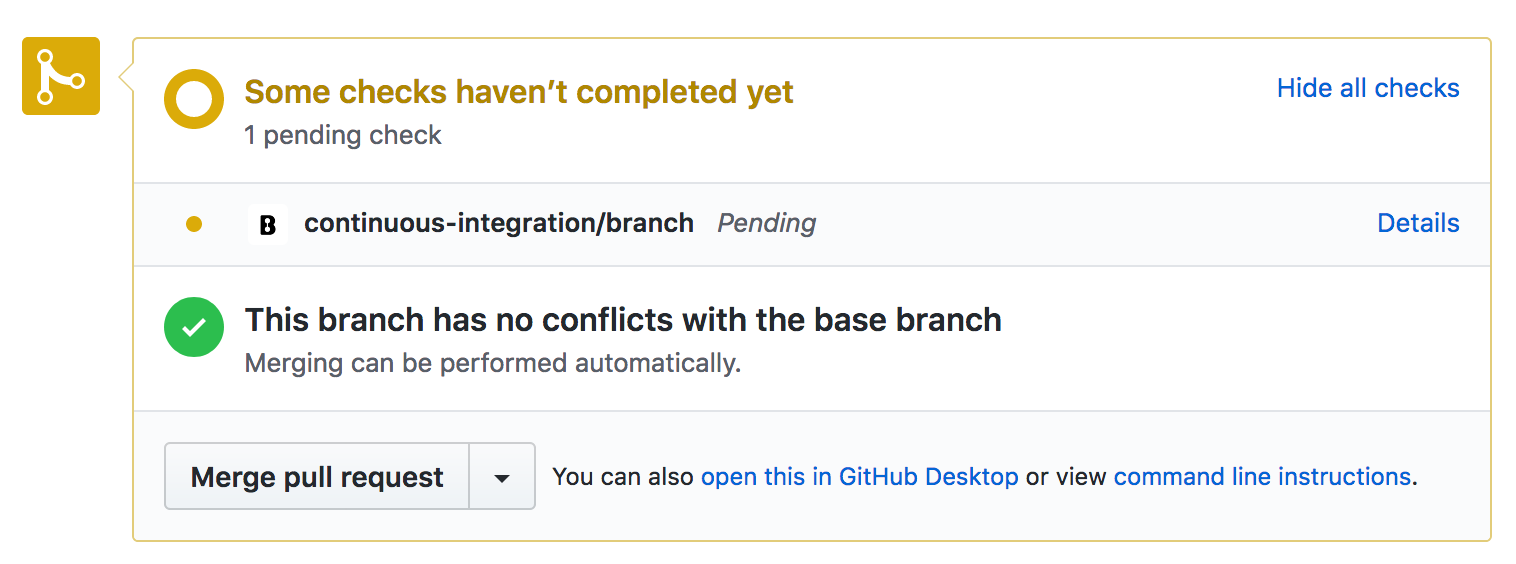
You will be able to merge any pending pull requests once the build has finished.
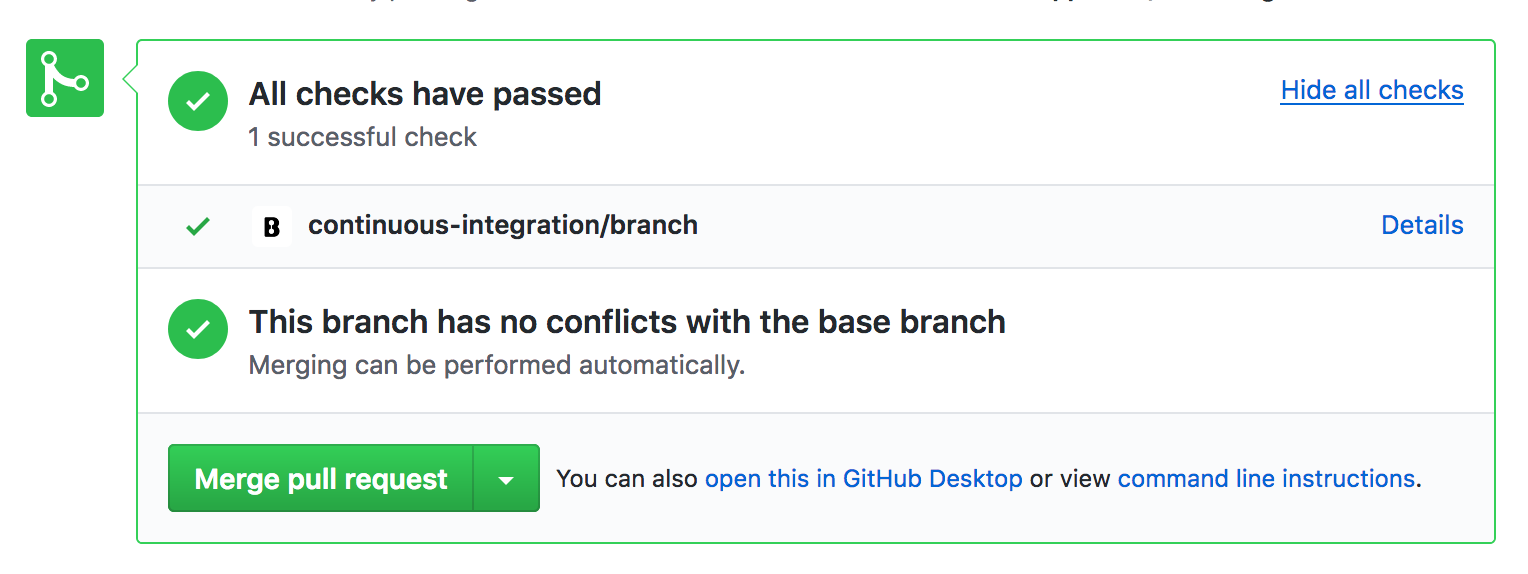
This is especially useful if you’re using Branch to put new code on a staging site before merging it into your master branch.
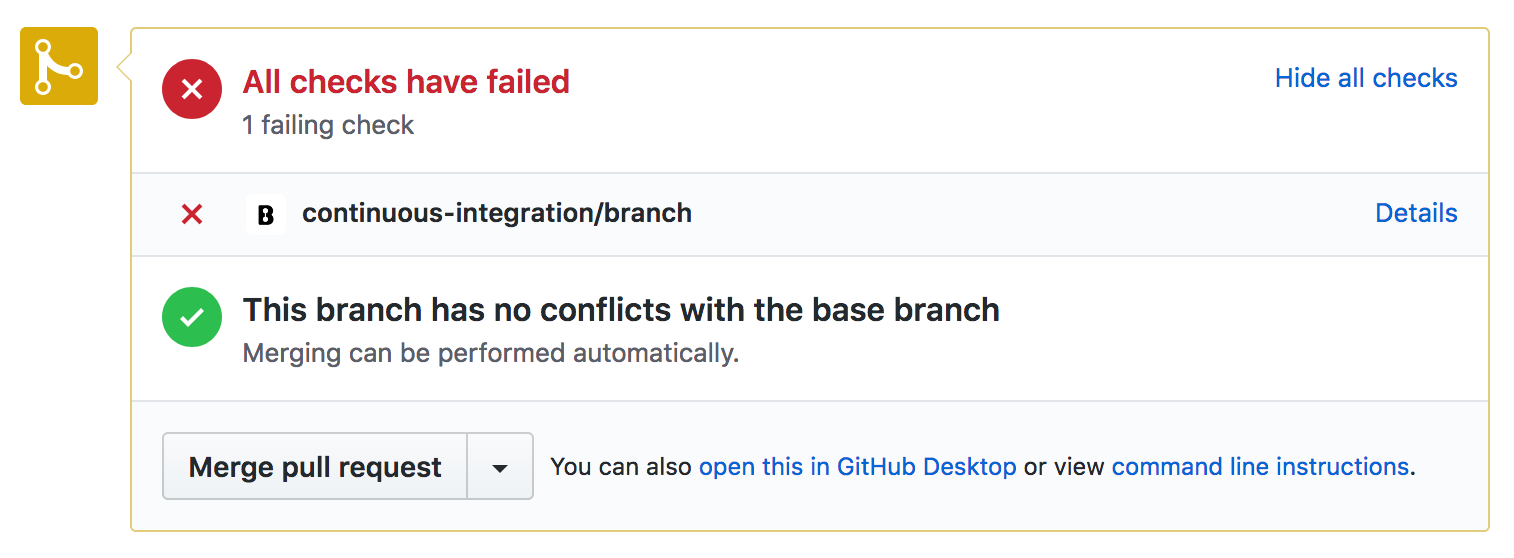
Failed Builds
If something goes wrong during any of the build steps, the whole build will be stopped and any incomplete steps will turn red.

If a build fails, you can check the Build logs to find out the reason why. In the above case, we misspelled the name of the environment variable.
If you have an open pull request, the error will also show up on GitHub.
Build and Deploy a Full WordPress Site to WP Engine
You can also use Branch to automatically build and deploy a full WordPress site to WP Engine.
For example, you might keep your entire WordPress site in a Git repository, either by committing core files or by pulling in WordPress core as a dependency using Composer.
To deploy a WordPress site to WP Engine, you can follow the same steps to deploy a plugin or theme to WP Engine.
Note: When configuring the WP Engine deployment step you will need to provide the path to the WordPress root and not the plugins or themes folder.
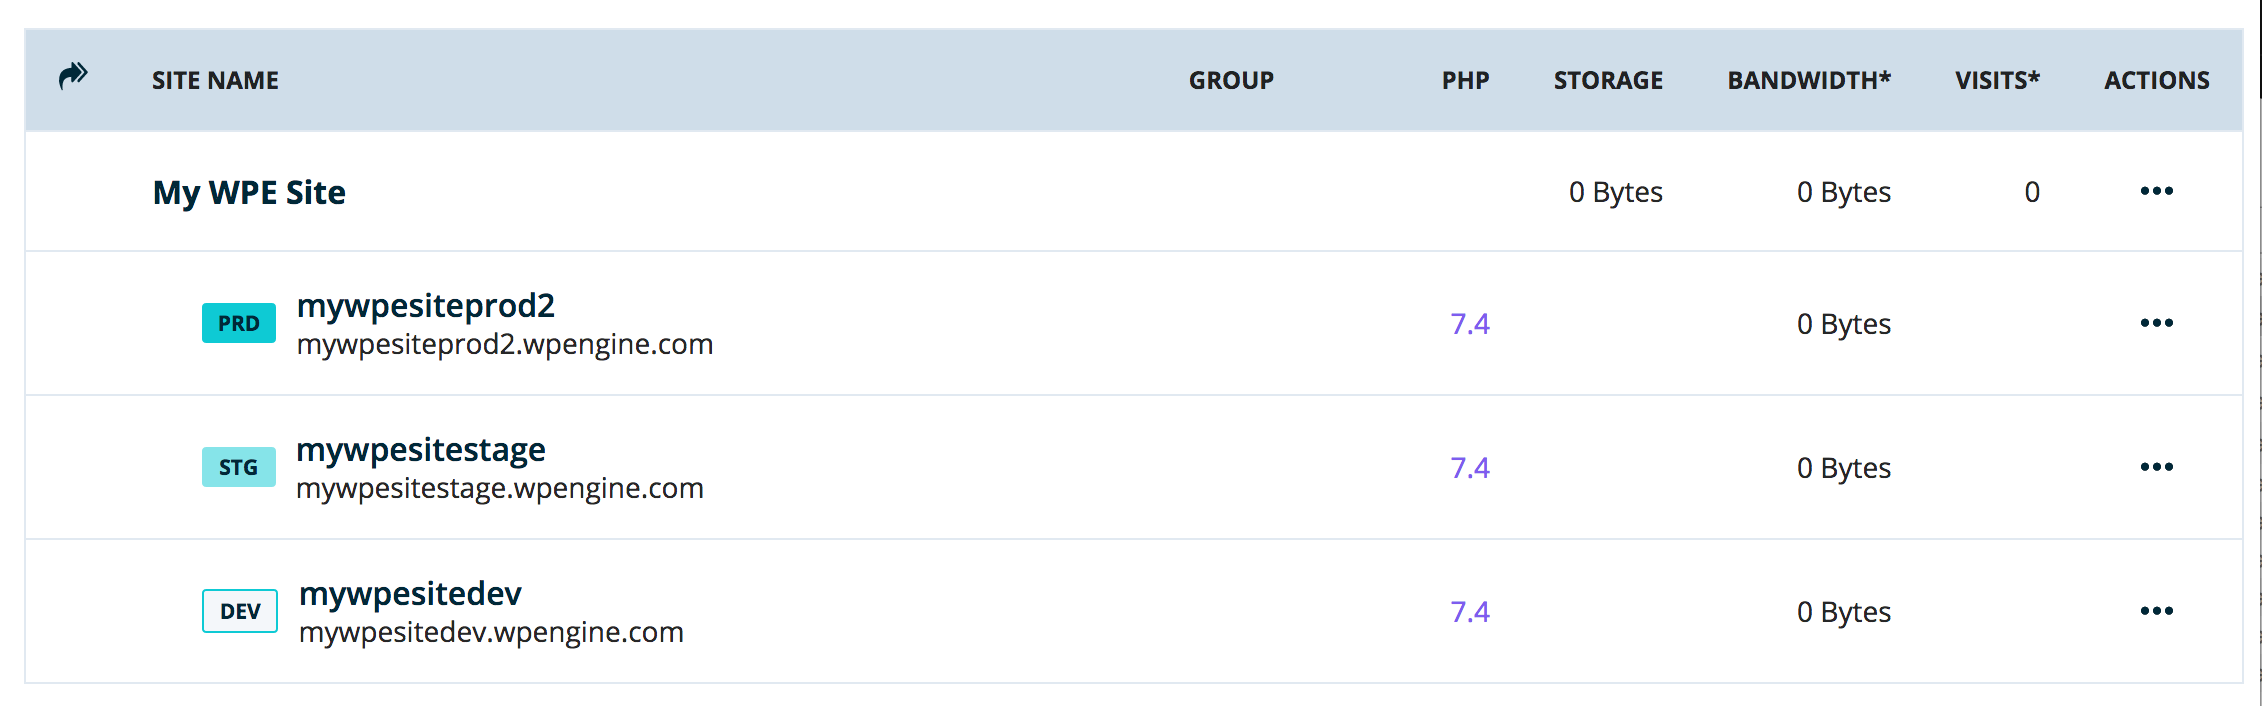
Managing Environments
When setting up automated deployment solutions like Branch, it’s a good idea to consider your deployment workflow.
For example, you might want to push your code to a staging or development environment for testing before unleashing it onto your production site.
Branch lets you add different build and deploy steps for different environments, helping to make your deployment process more robust.
Deploying to a Staging Environment
WP Engine has excellent support for environments. When you connect Branch to WP Engine using the native integration, Branch will automatically know about the different environments you have. When adding a deployment step, just pick the environment you want to deploy to. By default, all commits will result in a deployment. By toggling the Advanced options part of the recipe, you can specify a branch. For a staging site, leave this blank to deploy all new commits.

Deploying to a Production Environment
To complete your deployment pipeline, you could add an additional step to put your code onto your live site.
To do this, add another WP Engine step to your project.
Note: make sure to specify the ‘master’ branch under Advanced options if this is the branch you want to live on the production site.
Your code changes would then be deployed to your live site every time you merged them into your ‘master’ branch.

Sign up to Branch
Signing up for a Branch account is easy. Just head over to branchci.com and sign up with GitHub, Bitbucket or GitLab.
Need Help?
We hope this guide has been helpful, but if you still have any questions or feedback, or if you just want to say ‘hi’, please reach out by clicking the chat icon or by email at hi@branchci.com. Don’t be a stranger!