Deploying Bedrock to Kinsta with Branch

In this guide, I’ll walk you through setting up a new Bedrock project on Kinsta using Branch.
Note: In order to use Bedrock on Kinsta, you need to ask Kinsta support to point the site webroot to public/web instead of just public. This took less than a minute when I had to do it.
If you prefer to watch a screencast over reading, check out the video below:
Connecting Branch to Kinsta
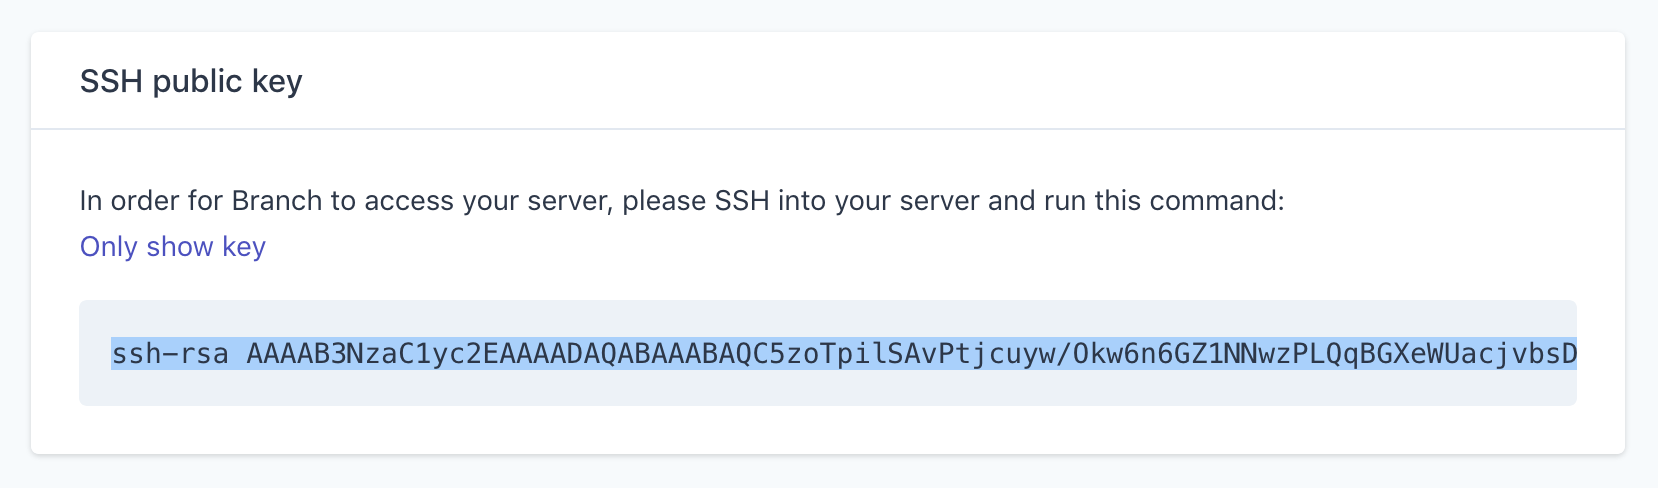
After creating a new site on Branch and connecting it to our Bedrock project on GitHub, Bitbucket, or GitLab, the next step is to connect Branch to our Kinsta account. Each site in Branch has its own SSH key. Click the Settings tab for your site and copy the SSH public key.
Head over to your Kinsta user settings and paste in the SSH key from Branch.
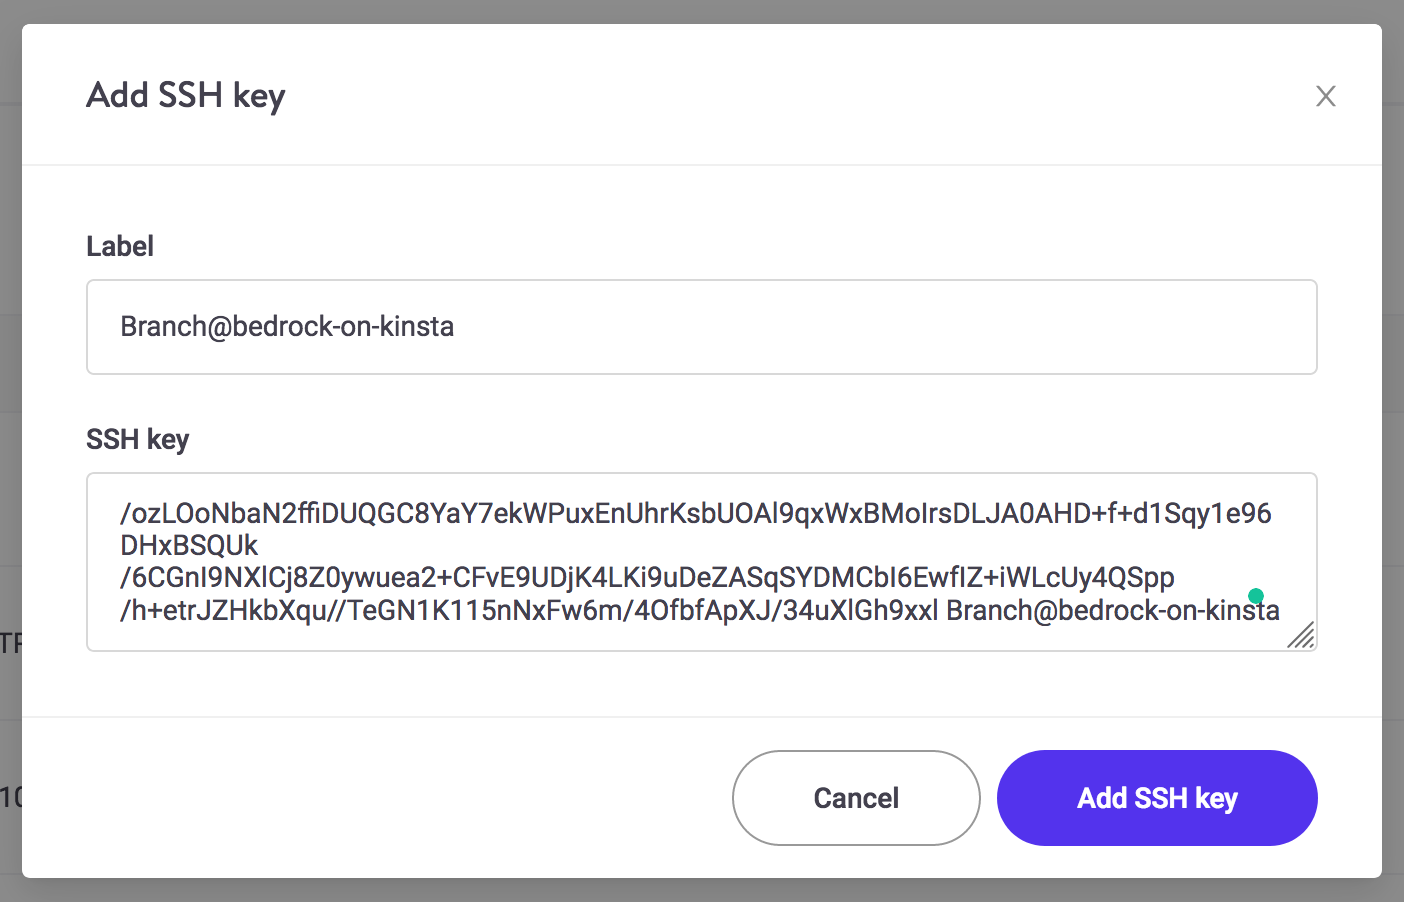
After adding the SSH key, Branch will be able to access your sites on Kinsta via SSH.
Building the pipeline
The next step is to build out the deployment pipeline for your Bedrock project. Branch has a built-in recipe for setting up Bedrock. In the “Add a step” widget, click the Build section, and pick the Bedrock recipe.
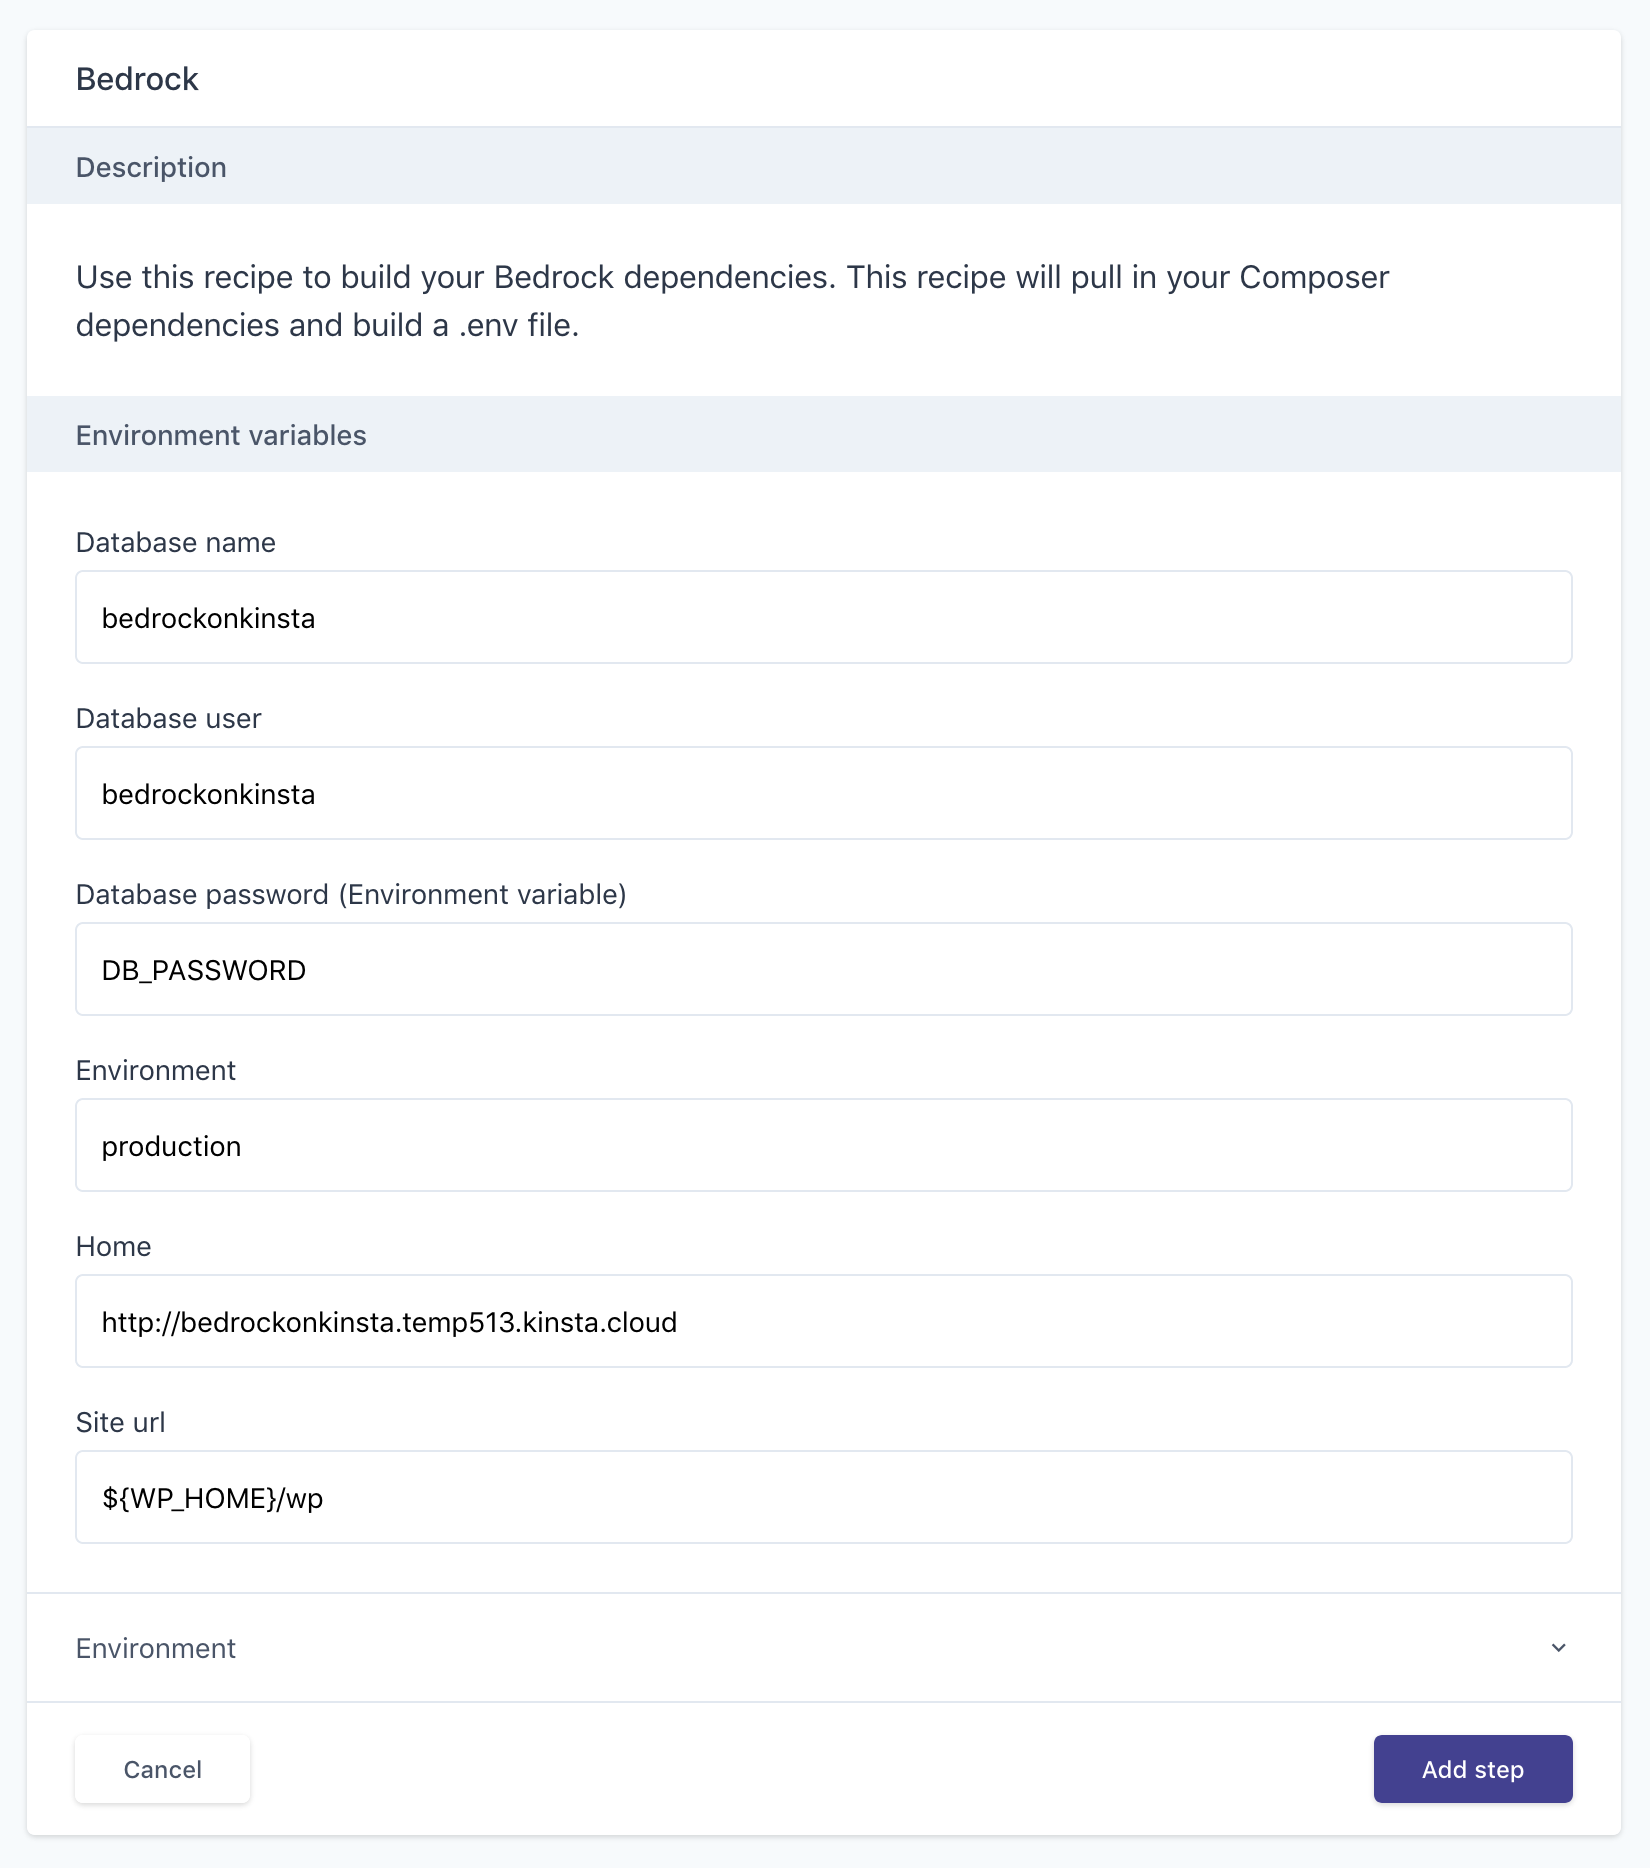
This recipe takes a few arguments:
- Database name: Copy this value from the Kinsta dashboard.
- Database user: Copy this value from the Kinsta dashboard.
- Database password: Copy this value from the Kinsta dashboard and add it as an environment variable in Branch. You can do this inline by typing the name of the variable (eg. DB_PASSWORD) and clicking the “Add new variable” button.
- Environment: Defaults to production.
- Home: Copy this value from the Kinsta dashboard, but make sure to include “http://” or “https://”.
- Site url: You can probably ignore this field, unless you’ve changed the directory structure.
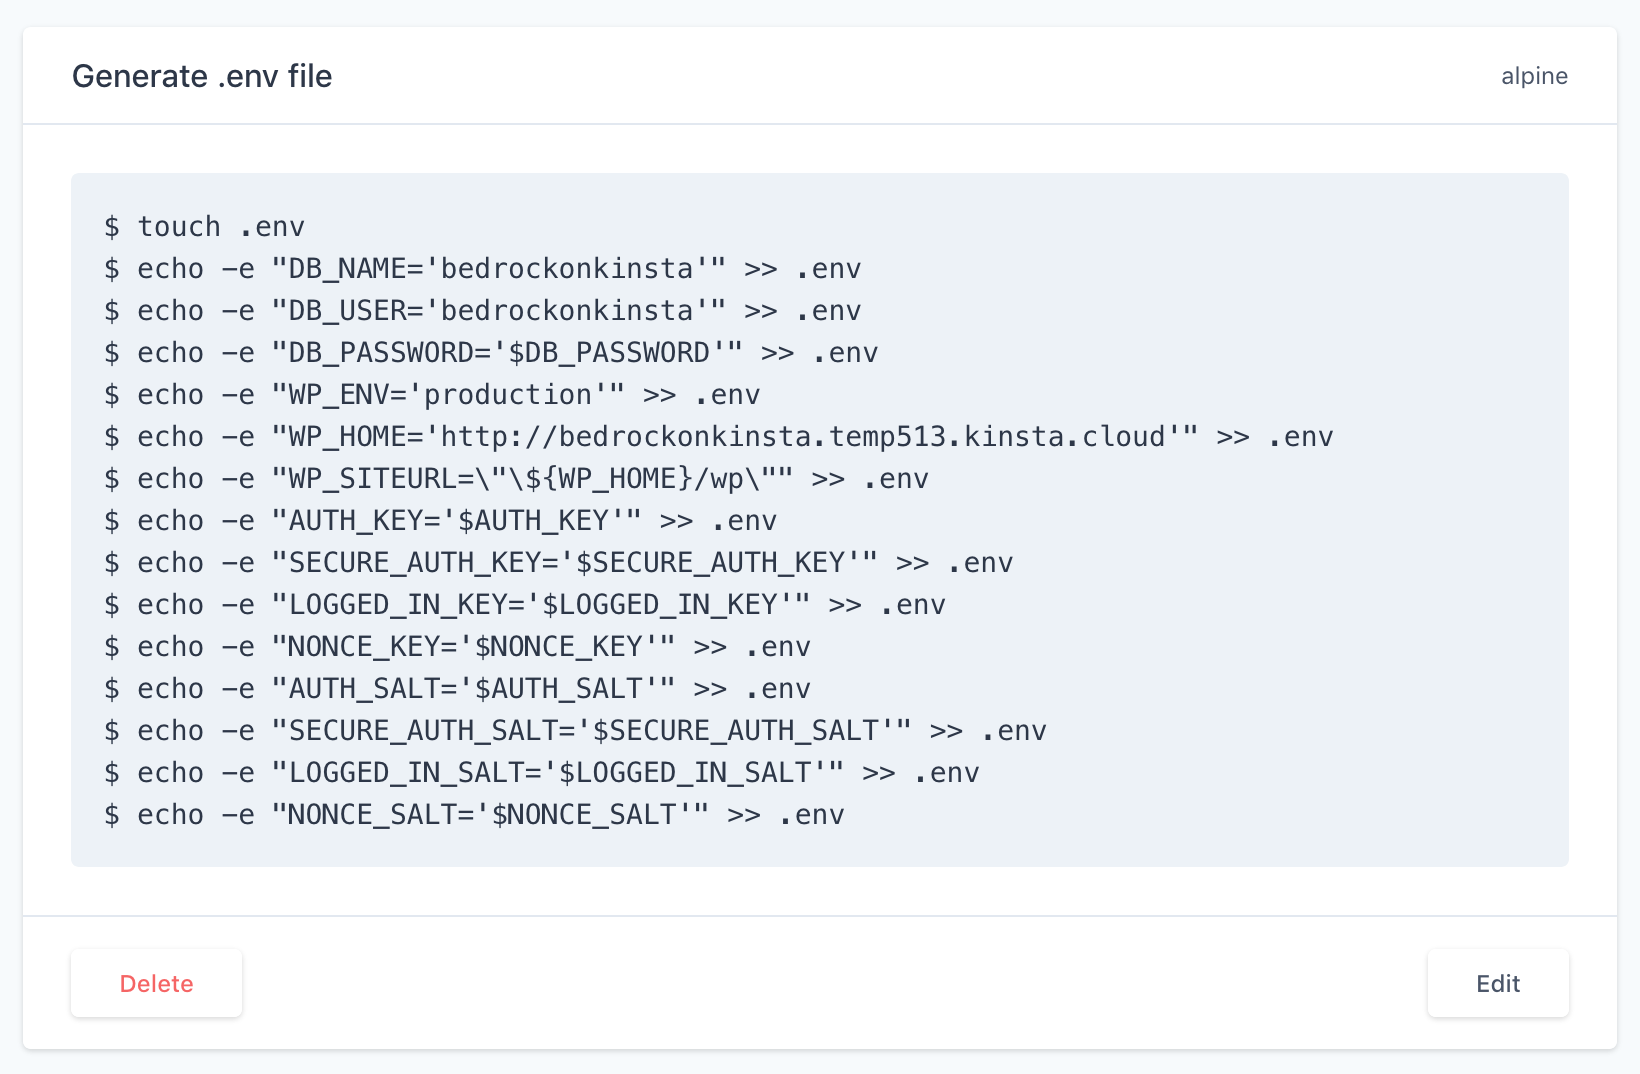
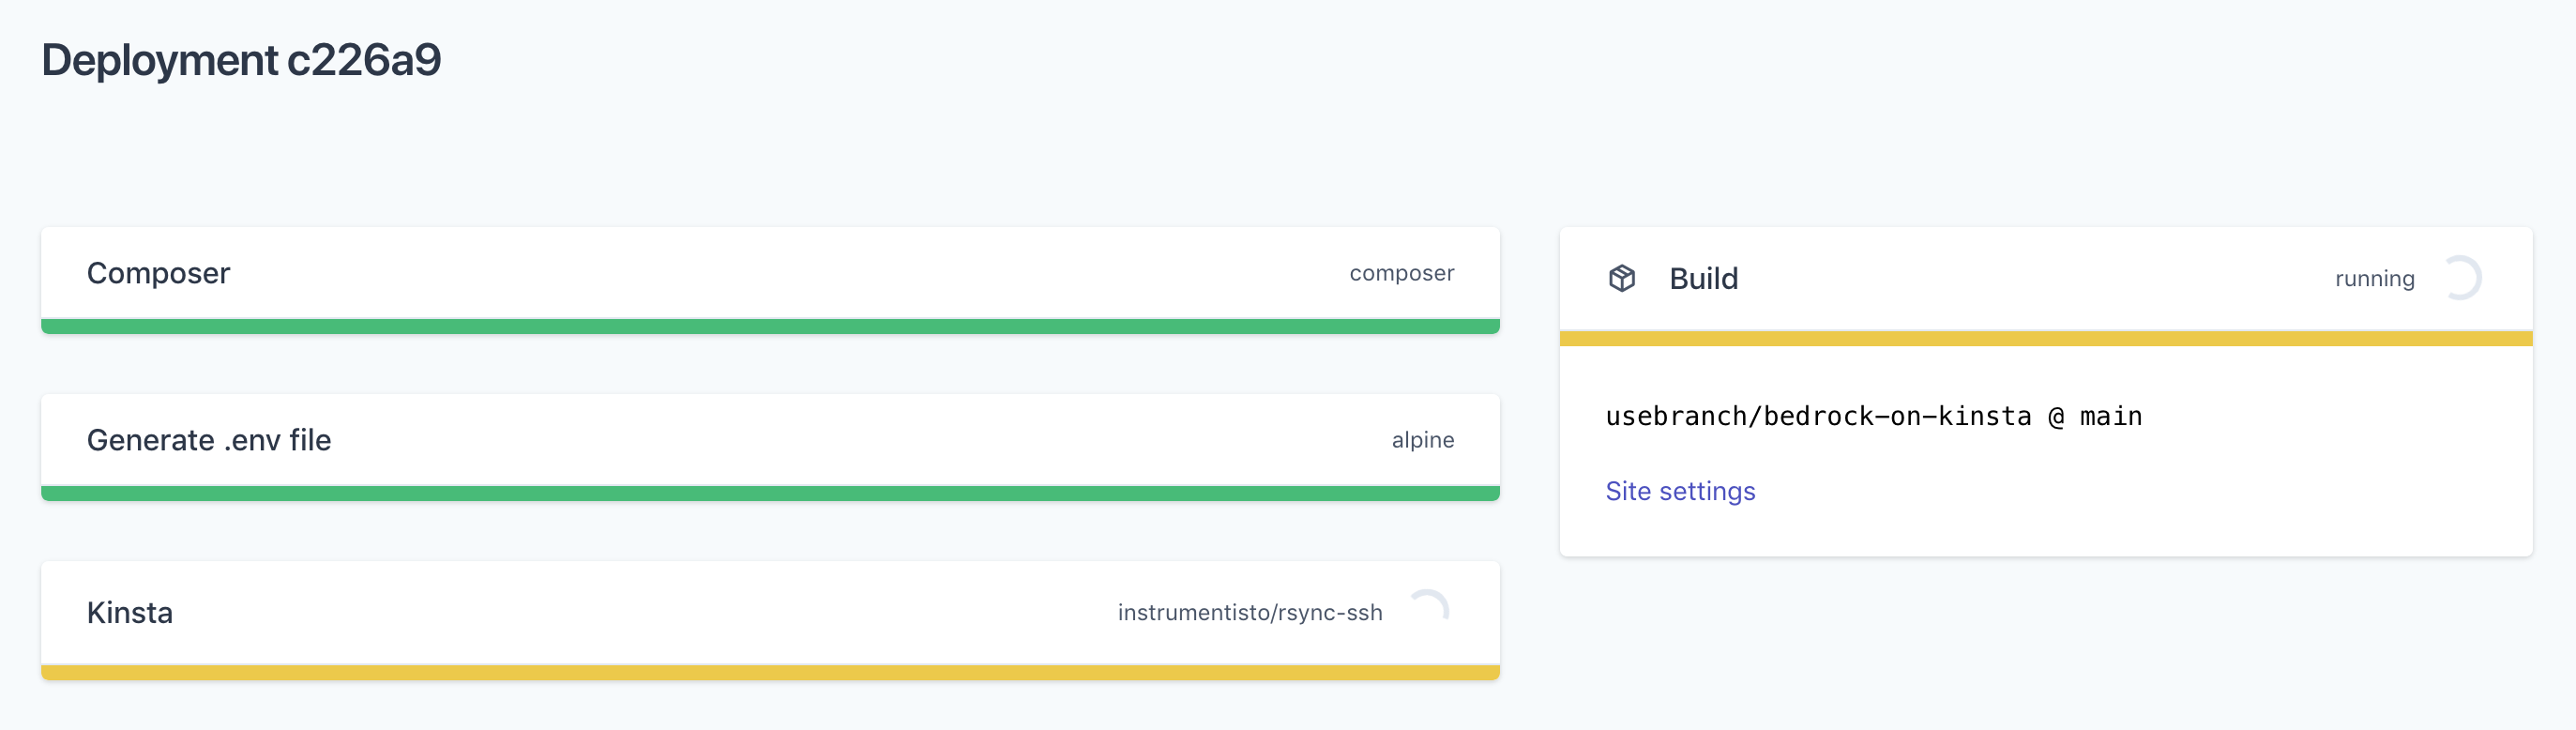
After clicking “Add step“, Branch will actually add two steps to your pipeline. One to run Composer and one to generate the .env file that Bedrock needs.
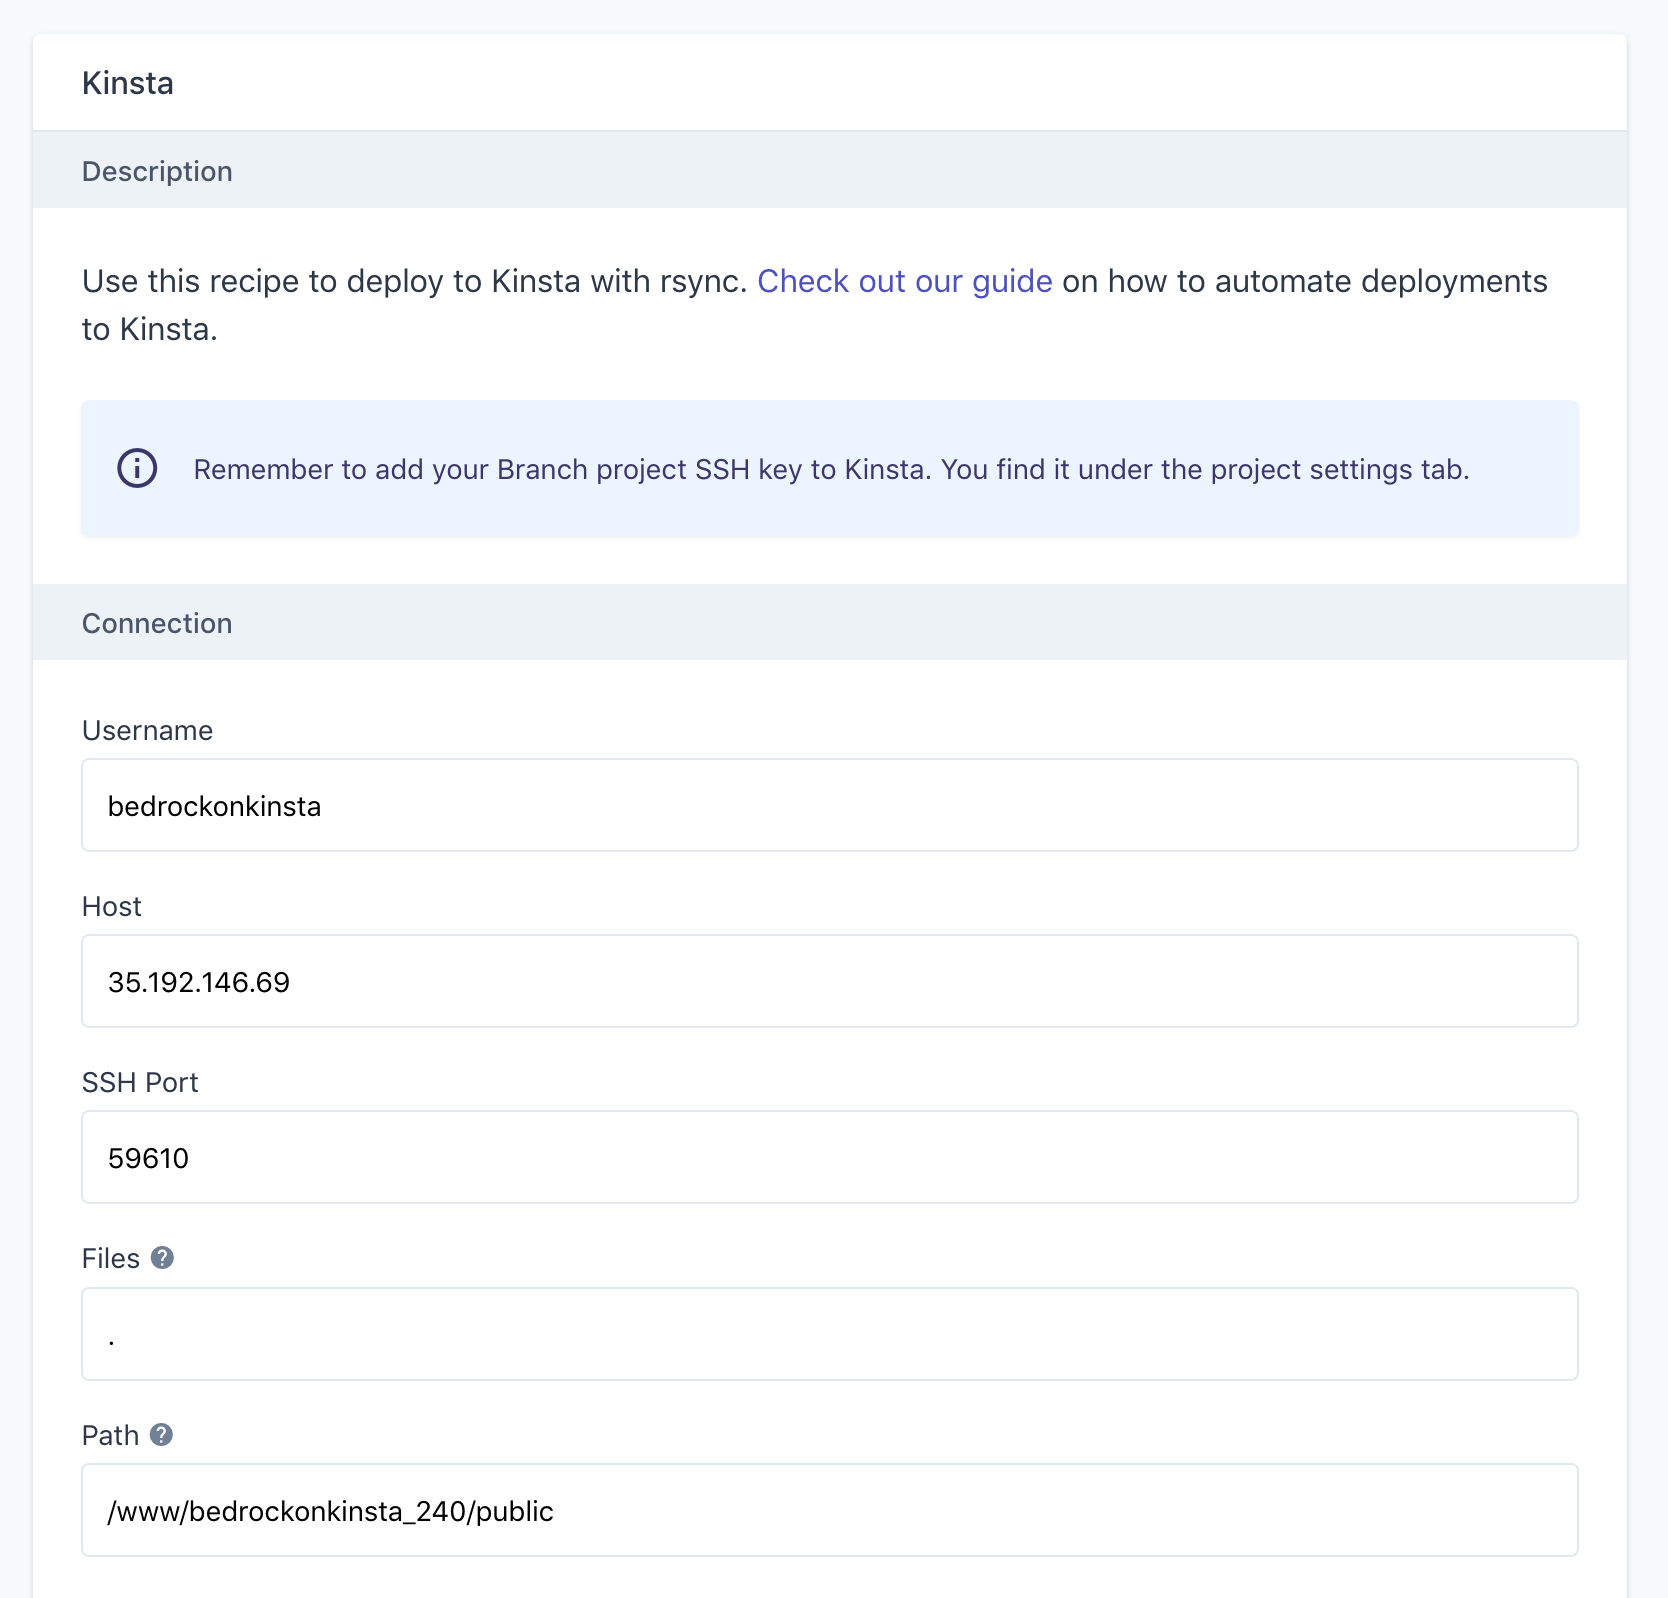
The next step is to add a Deploy step to deploy to Kinsta. Click the “Add a step” widget’s Deploy section and pick the Kinsta recipe.
The Kinsta recipe takes a few arguments:
- Username: The SSH username provided in the Kinsta dashboard.
- Host: The SSH host provided in the Kinsta dashboard.
- SSH Port: The SSH Port number provided in the Kinsta dashboard.
- Files: Leave this to
.to deploy all files (including the.envfile). - Path: Copy the site path from the Kinsta dashboard.
After clicking “Add step“, we are ready to run our first deployment. Click the “Run deployment” button next to the pipeline to manually trigger a deployment.
This will start the build and deployment process, where you can follow the progress of each step in the pipeline.
Once all steps have completed successfully, we are ready to visit our new Bedrock site on Kinsta where we will be greeted by the famous 5-minute WordPress installation wizard.
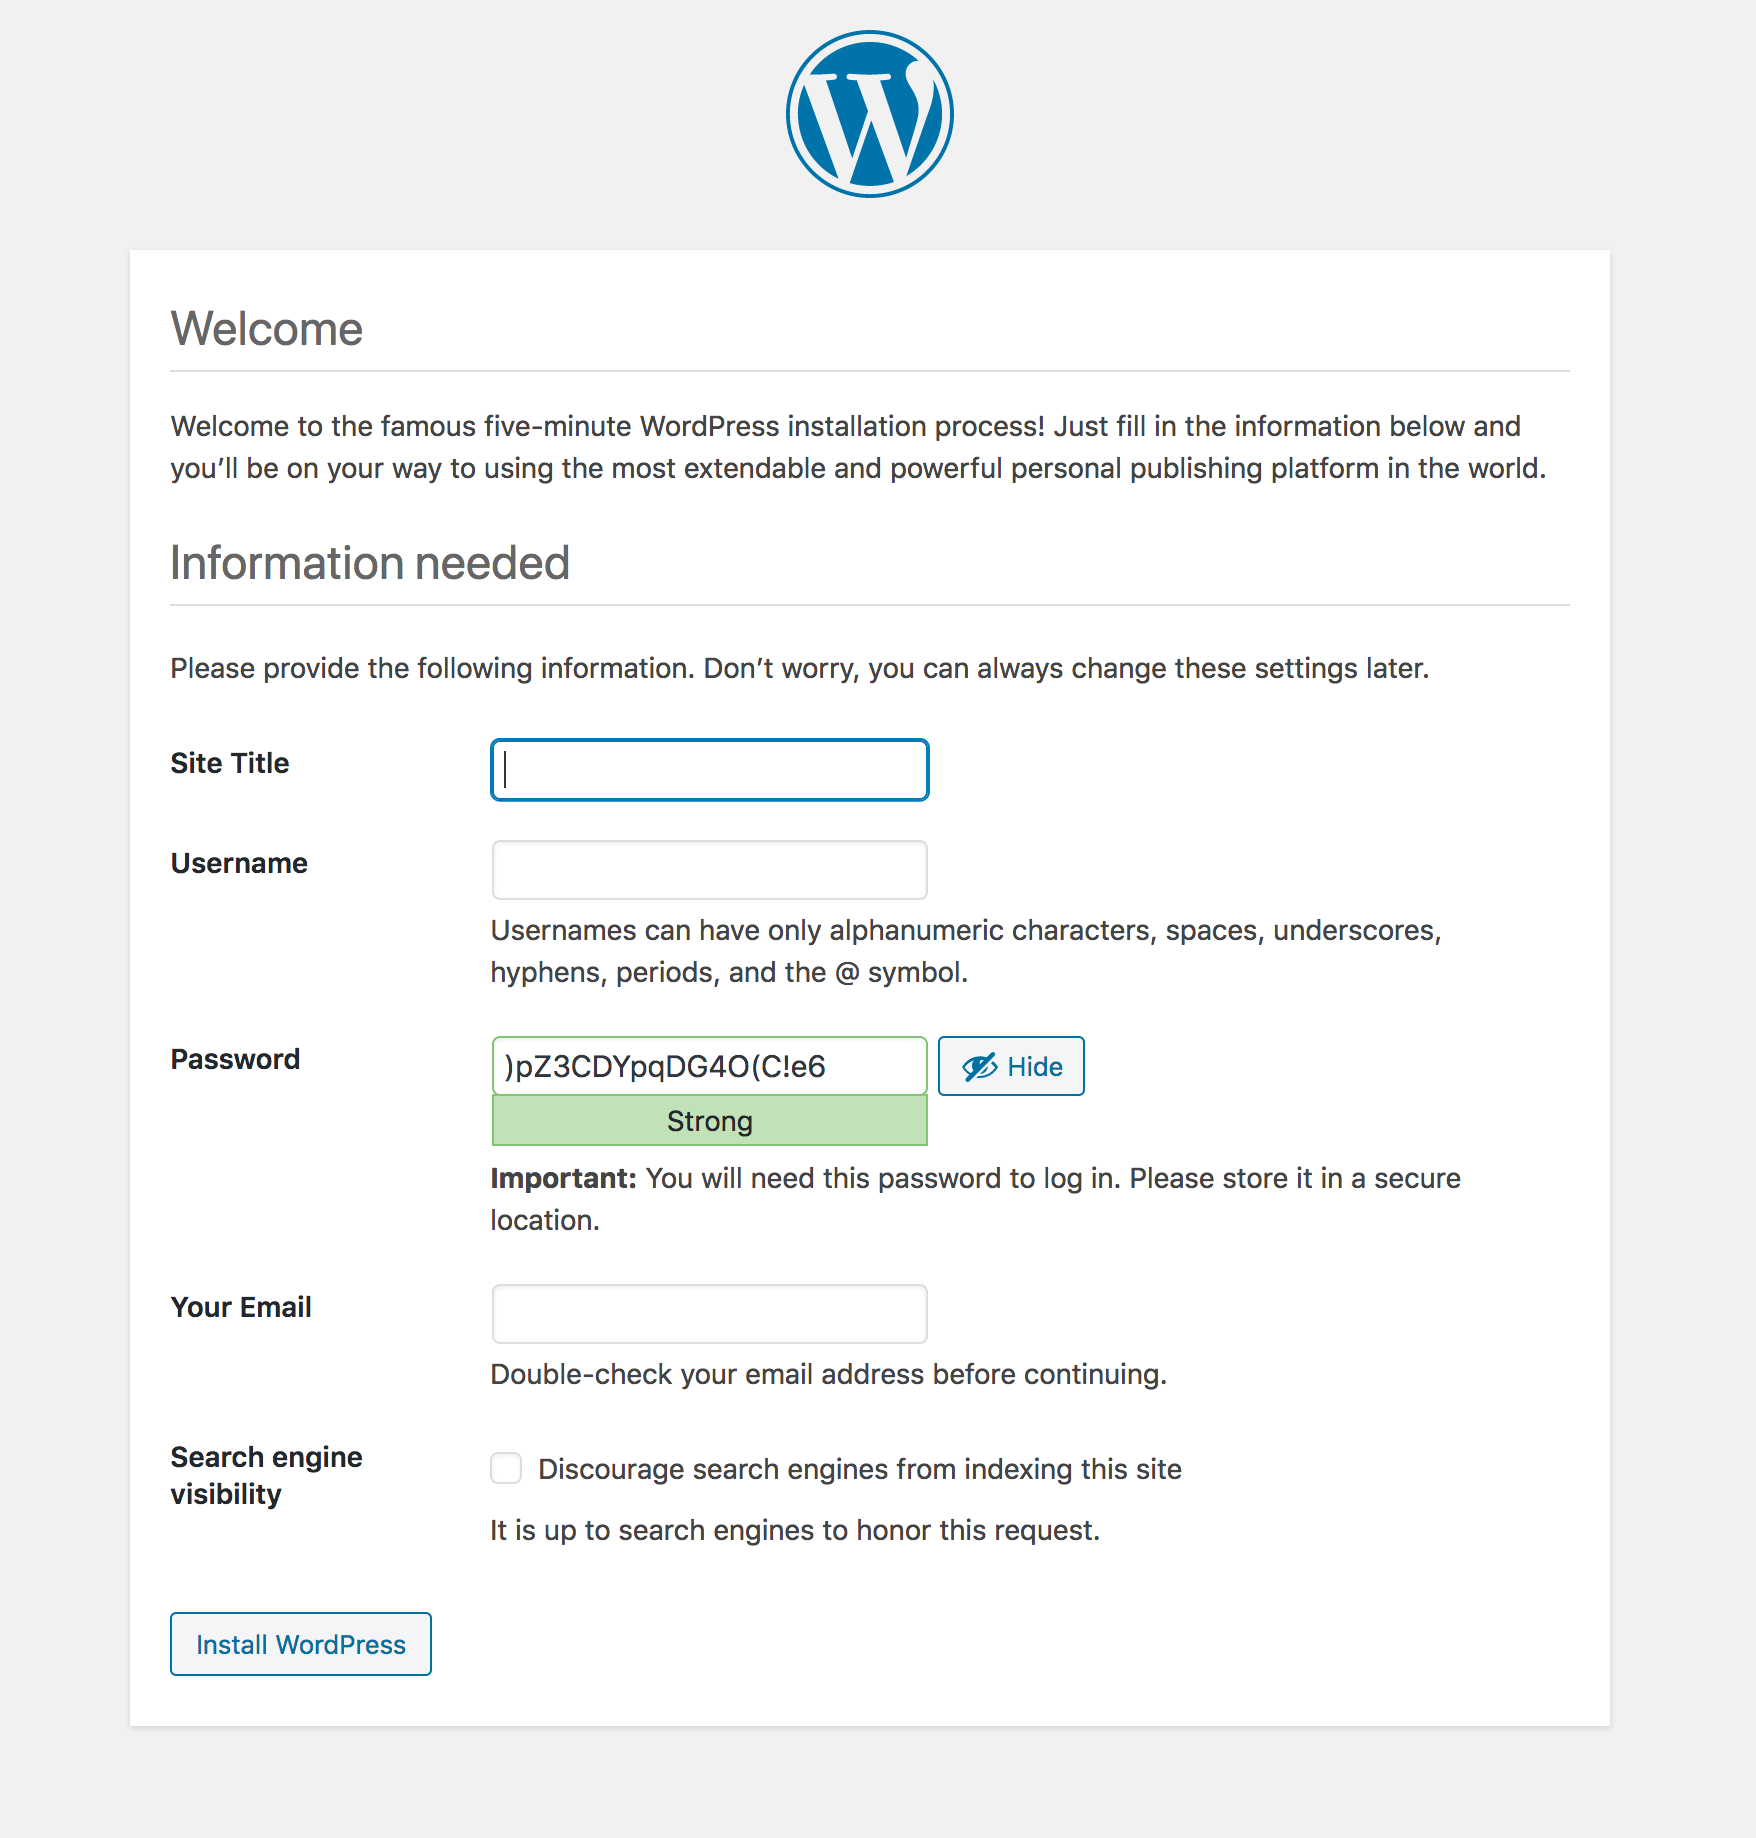
Filling out the site information is the last step before our site is ready.
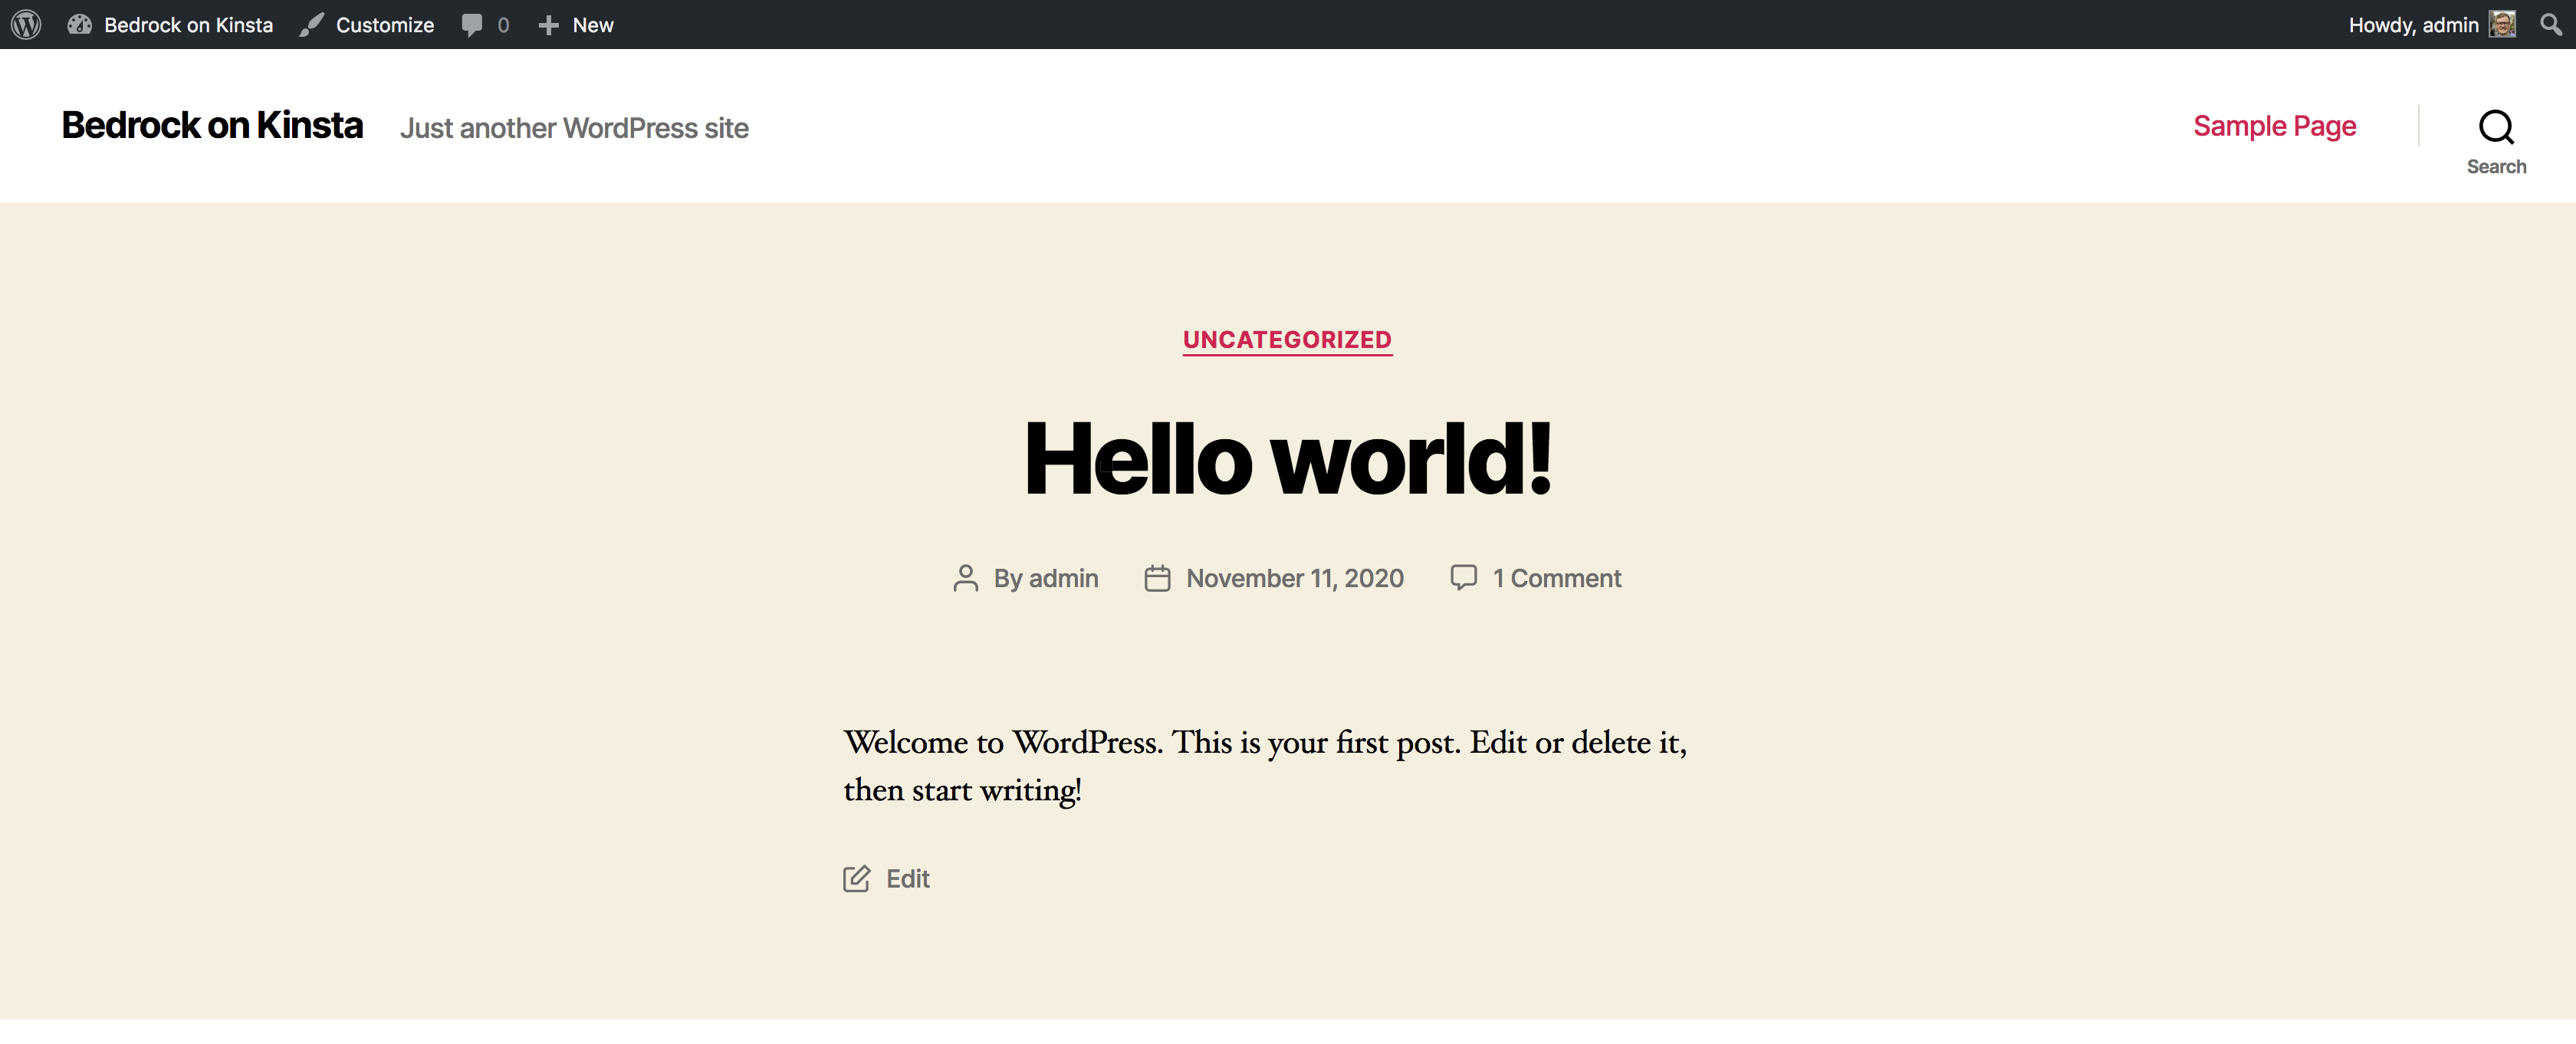
That is all it takes to install Bedrock on Kinsta and setting up automated deployments with Branch.
Sign up to Branch
Signing up for a Branch account is easy. Just head over to branchci.com and sign up with GitHub, Bitbucket or GitLab.
Need Help?
We hope this guide has been helpful, but if you still have any questions or feedback, or if you just want to say ‘hi’, please reach out by clicking the chat icon or by email at hi@branchci.com. Don’t be a stranger!